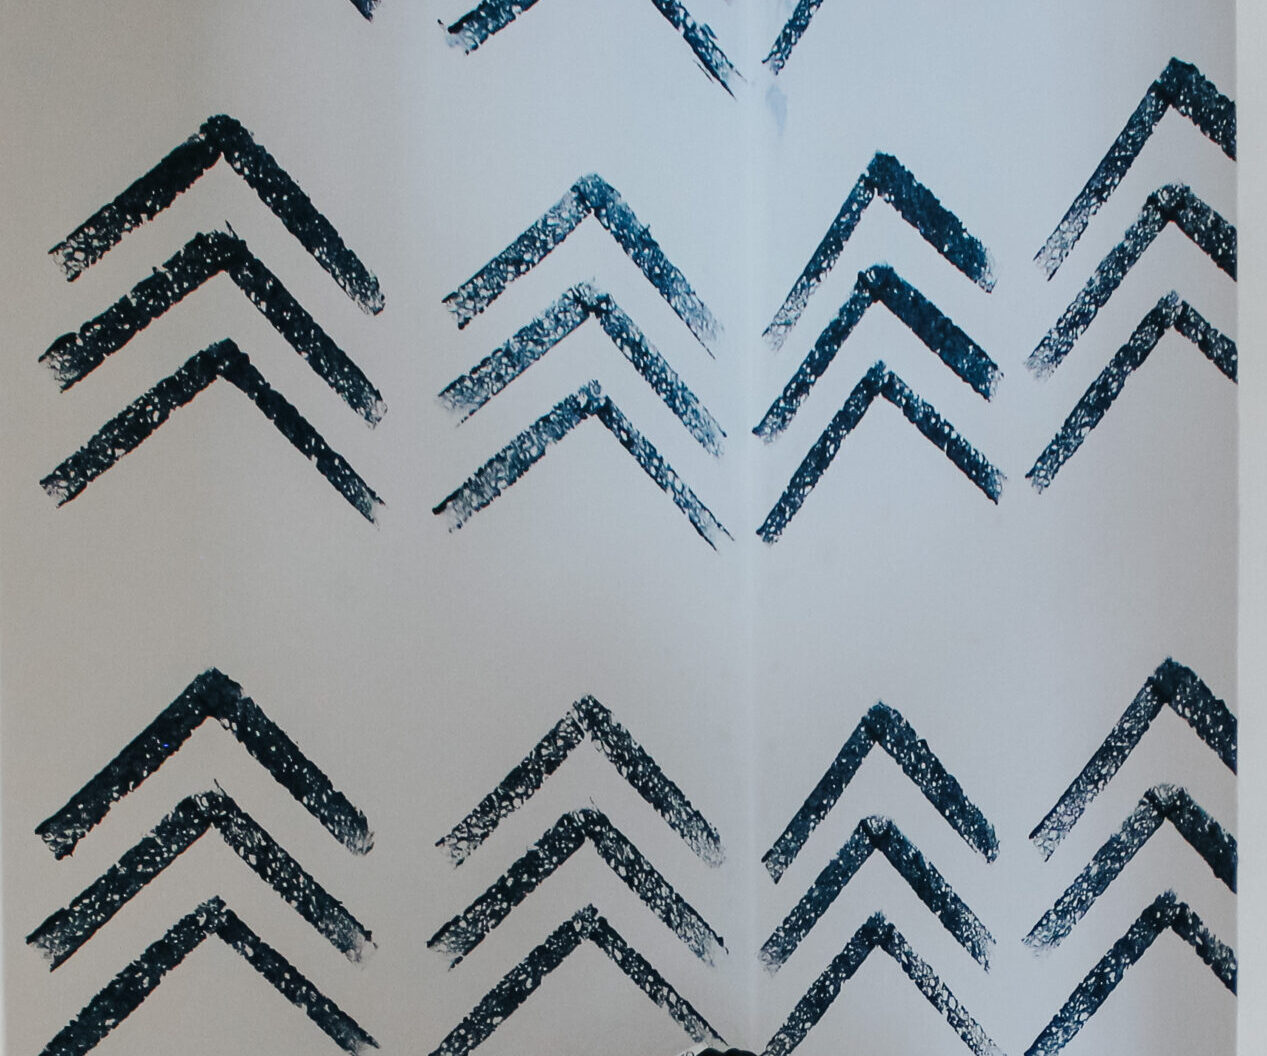
What is a sponge wall treatment? It is when you create the look of wallpaper, or a pattern, in a space using sponges! It is a cost-effective and easy beginner DIY.
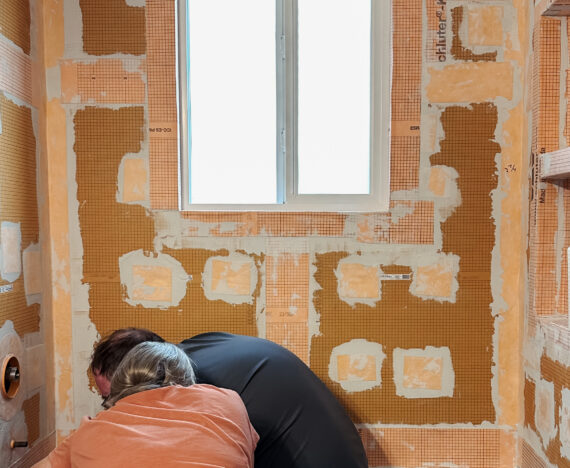
Old houses come with a lot of fun things, and sometimes those things are a little… quizzical. For us, that comes in full form of this elevated closet/entry to the attic (too small for anyone to fit). It sits about 2 feet up the wall with a small opening, but the inside is bigger than it looks.
When we bought the house it was full of cleaning supplies slumped into its various corners, and we kept that tradition going until this past April. I was tired of looking at the disaster every time I opened the door, which also blocked the hall and was a pain in itself. So, I decided it needed a quick and cheap update.
I loved this project because the only things I purchased were the holders for the rod in the closet. We already had a dowel in storage from a project years ago (Joe made the movers pack our scrap wood LOL), some paint samples, and a sponge. Time to get to work!
Unfortunately I don’t seem to have any photos from before we painted, so just imagine it literally full of mops, broom, and a vacuum haha.
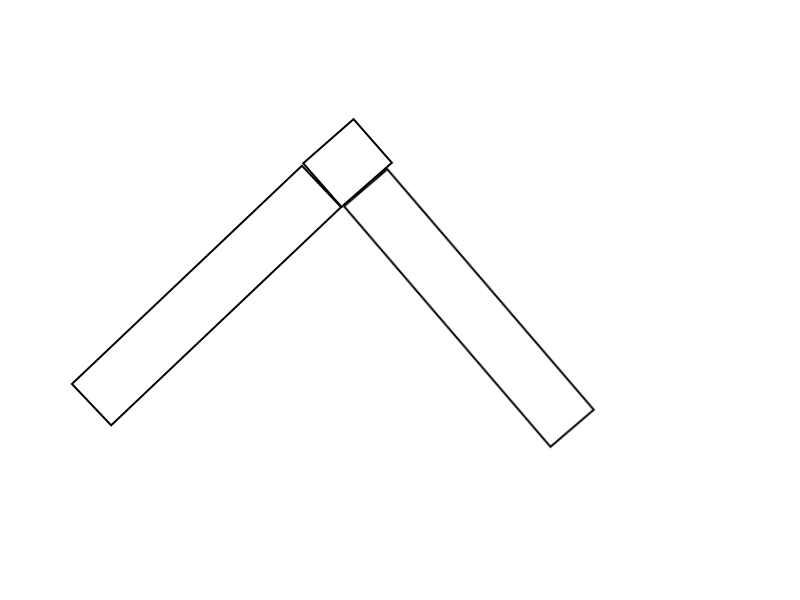
To make the chevron pattern I cut a sponge into smaller sections and glued it to a random piece of baseboard I had hanging out in the basement. You don’t need to attach it to a piece of wood, but I found it made the smaller sections even and helped the entire thing go by faster. While the pattern looks like each V is connected, there are actually 3 pieces in total. One on each side to make it even, and a tiny square at the top middle where they meet up. Please refer to this very high-quality paint drawing as an example. I repeated this 3 times to make the pattern.
I highly suggest doing a trial on some paper to know how much paint your sponges need or like to get the opacity and texture you like. After some trial and error, I found putting the paint on with a brush worked better than just dipping it in as then it was more controlled and didn’t have so much on. I could also do 2-3 stamps with a coat of paint.
Something I didn’t do because I really was focused more on time than perfection (and it’s a literal hole in the wall), was I didn’t make any sort of measurement for spacing or leveling. I literally winged it. So it did get a little wonky in some spots, but overall worked out in my favour. Before adding paint I did sort of guestimate on the wall the size of my stamp so I had a rough idea of how many would fit on each wall.
After the paint dried, we put up the rod and hung our coats that were living in a spare bedroom closet – voila! – new closet! As for the cleaning supplies.. they’re now piled in a closet in the bathroom 😉
Paint colour: Anchors Aweigh by Sherwin Williams SW 9179
Comments are closed.