As we start the process of renovating the kitchen, I wanted to take some “before” photos! I often forget this part, but I really wanted to capture it as this will be our largest DIY to date. To really drive home how unfunctional our kitchen is, I also left it “as is”. AKA we did the dishes, but this is NOT staged. At all. I feel pretty vulnerable showing you guys our recycling pile, and this is after we took a load out!
To read about the kitchen plans, click here .
Listing pictures
To start, I thought I’d show you the listing pictures from when we bought the place. Now remember, we came from 400 square feet with a galley kitchen so this looked HUGE to us. I wish I had taken the time to think about what made our tiny kitchen functional… because more space does NOT equal more function.
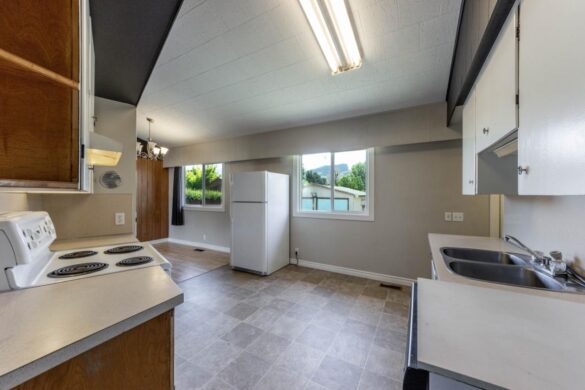
This was the size of what felt like half of my apartment! I saw all the cupboards, and empty wall, and knew one day I’d want to update it. But I also thought at the time I could live with this for 5+ years if needed. I was wrong.
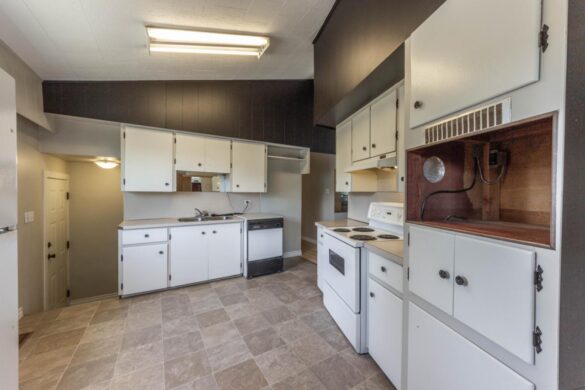
All in all, the cabinets are in decent shape, especially since they are from the 60’s. We estimate that they were painted about 5-10 years ago. However, they are all “custom” size. This means nothing we own really fits that well.. anywhere.
How we live in our kitchen – a daily look
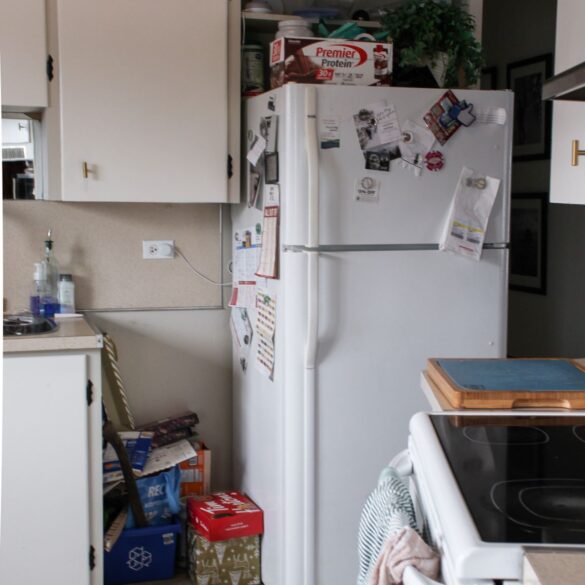
Window Wall
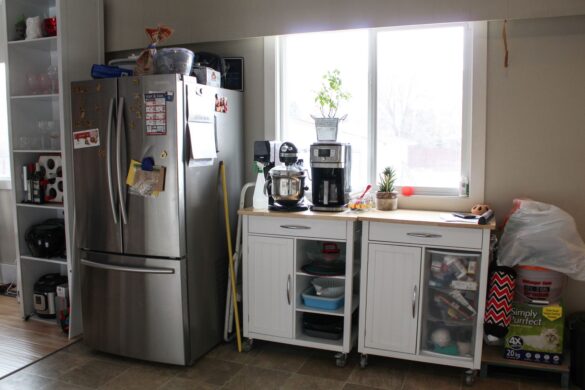
First, let’s start with what was the blank/fridge wall. We got a new-to-us fridge and brought our kitchen carts from the condo. Currently, there is a pile next to it of stuff we need to take downstairs. Like I said, real life here! We keep our garbage can in the right kitchen cart. As you can see, we also keep our main appliances on there because they don’t fit on the counter under the cupboards. The left cart houses cooking utensils and canned goods. Phase 1 of the kitchen reno will be to put counters/cupboards over here and move the sink over to under the window. AND ADD A DISHWASHER.
Sink Wall
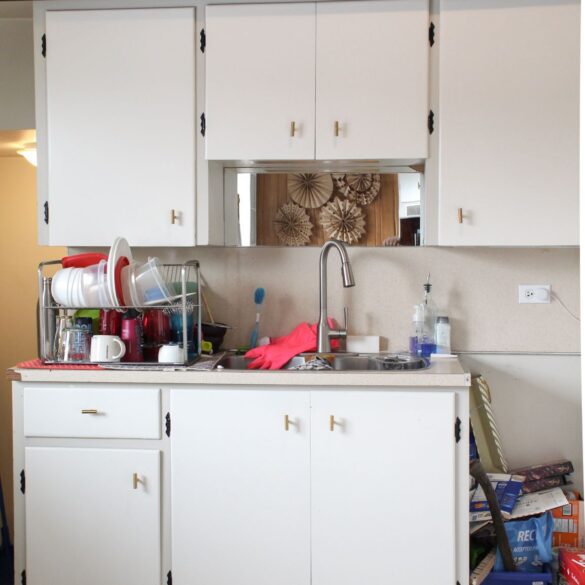
Moving our way around, we come to the current sink area. And yes, that is the ONLY counter space we have to do dishes. Below, kitchen towels and bakeware are kept. Dishes are above. Recycling has somehow found a way to live in the gap that used to be that dishwasher. You will notice we still have that white fridge… yes both friges LOL. It is used for the freezer space and drinks, as it really only has 1 functional shelf in it. We were going to take it out to the dump before COVID hit, but that slowed the plans as I’m physically more of a risk than any help and we don’t want to have too many people in our home. It will definitely be going though!
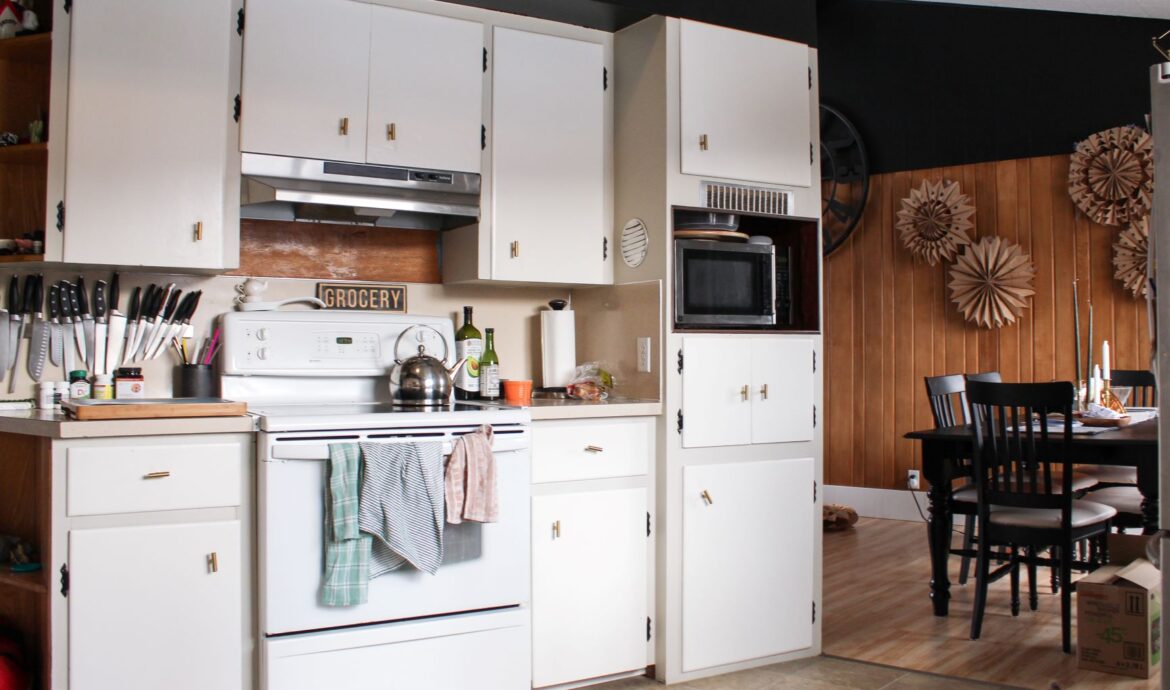
Oven Wall
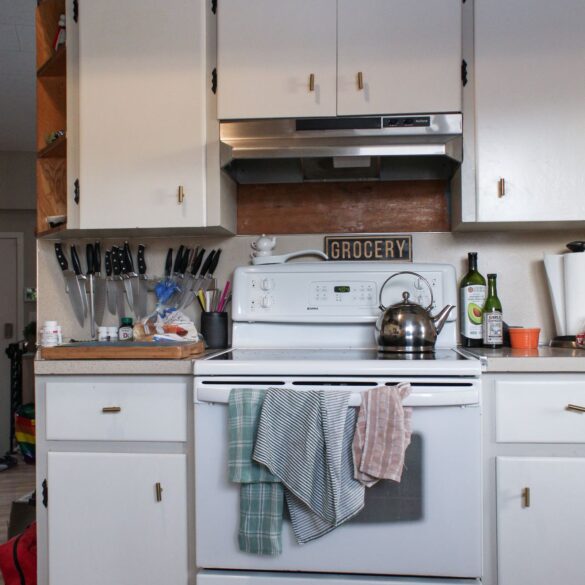
The stove area is probably one of the better functioning parts of the kitchen, and the second/third part of the renovation. The original stove didn’t work great, so this one is from a friend. We also replaced the hood vent, and in doing so had to take off some “backsplash.” I changed out the hardware for some cheapies from Amazon. Can’t say I’d recommend them for a larger project like this though. As you can see, they move around a lot so they never look great or lined up. Pots/pans, dry goods, baking supplies, oils/vinegars, and seasonings live in here.
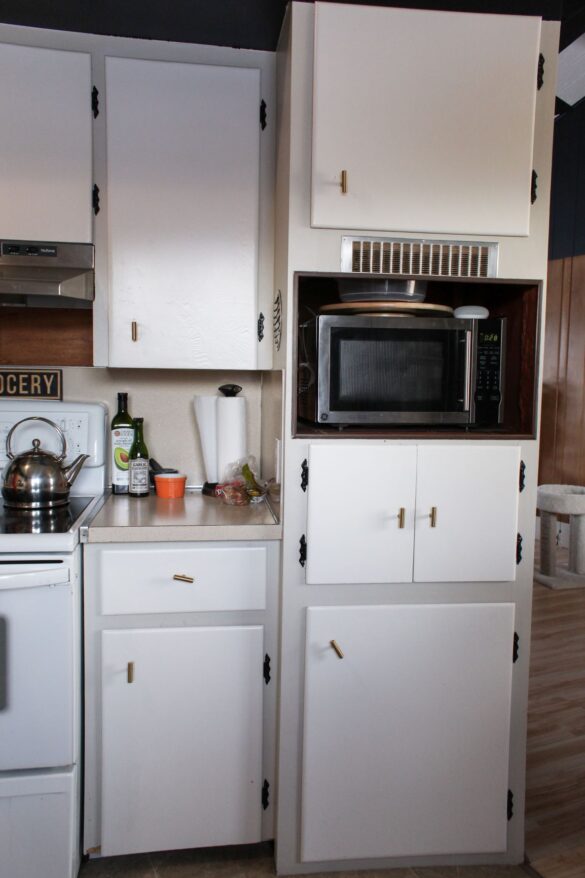
We figure an in-wall oven used to be where the microwave lives now. Below is tupperware, and then larger baking items. Above are the snacks (my favorite cupboard).
I am aware of how fortunate we are to have the kitchen we do have, even with all of its disfunction. And even more so, that we have the opportunity to start making it closer to what we want. This wouldn’t be possible without the help of our friends and family. It will also NOT be a “weekend project” but closer to probably 4-6 months as we work on the weekends and evenings on it.
Keep checking in as we progress through this!


Comments
Trackbacks & Pingbacks
[…] Before of the Kitchen […]
[…] how I thought the kitchen renovation would be done by August? Let’s laugh together. I always knew that the […]