It’s been nearly 2 months since my last kitchen update. Truthfully, I’ve just been SO tired from work and then working on the kitchen, that the idea of typing up a blog post never happened. It’s an overdue post though, and one where I am excited to show you some progress!
The thing with renovations sometimes, is that a lot of work happens in places you can’t see. It’s a fine line of showing the process, but also making it interesting. And while I am glad to hear that holes were drilled to run wires, it’s not something I think merits a whole post (and how do you photograph that?). So here we are, 2 months later, and finally things are looking a little different.
Where we left off
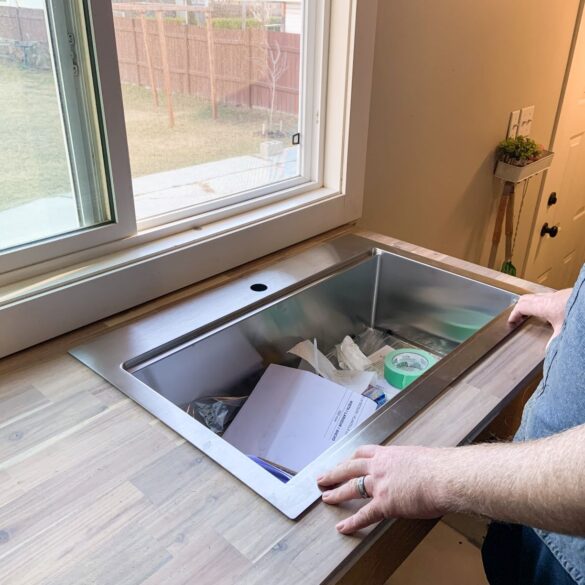
I left you off with waiting for the plumber to come and hook up water. I am so happy to say we have had nearly 2 blissful months of using a dishwasher and my stress around keeping the kitchen clean has seriously decreased. You’re probably wondering “how many dishes can 2 people really make?” but the answer is a lot and I hate doing dishes so any amount is just honestly so annoying to me. Plus, with our old sink, water would splash EVERYWHERE so it would look like I was at a spray park for the day, not doing dishes for 30 minutes. Thankfully, all of that is in the past now.
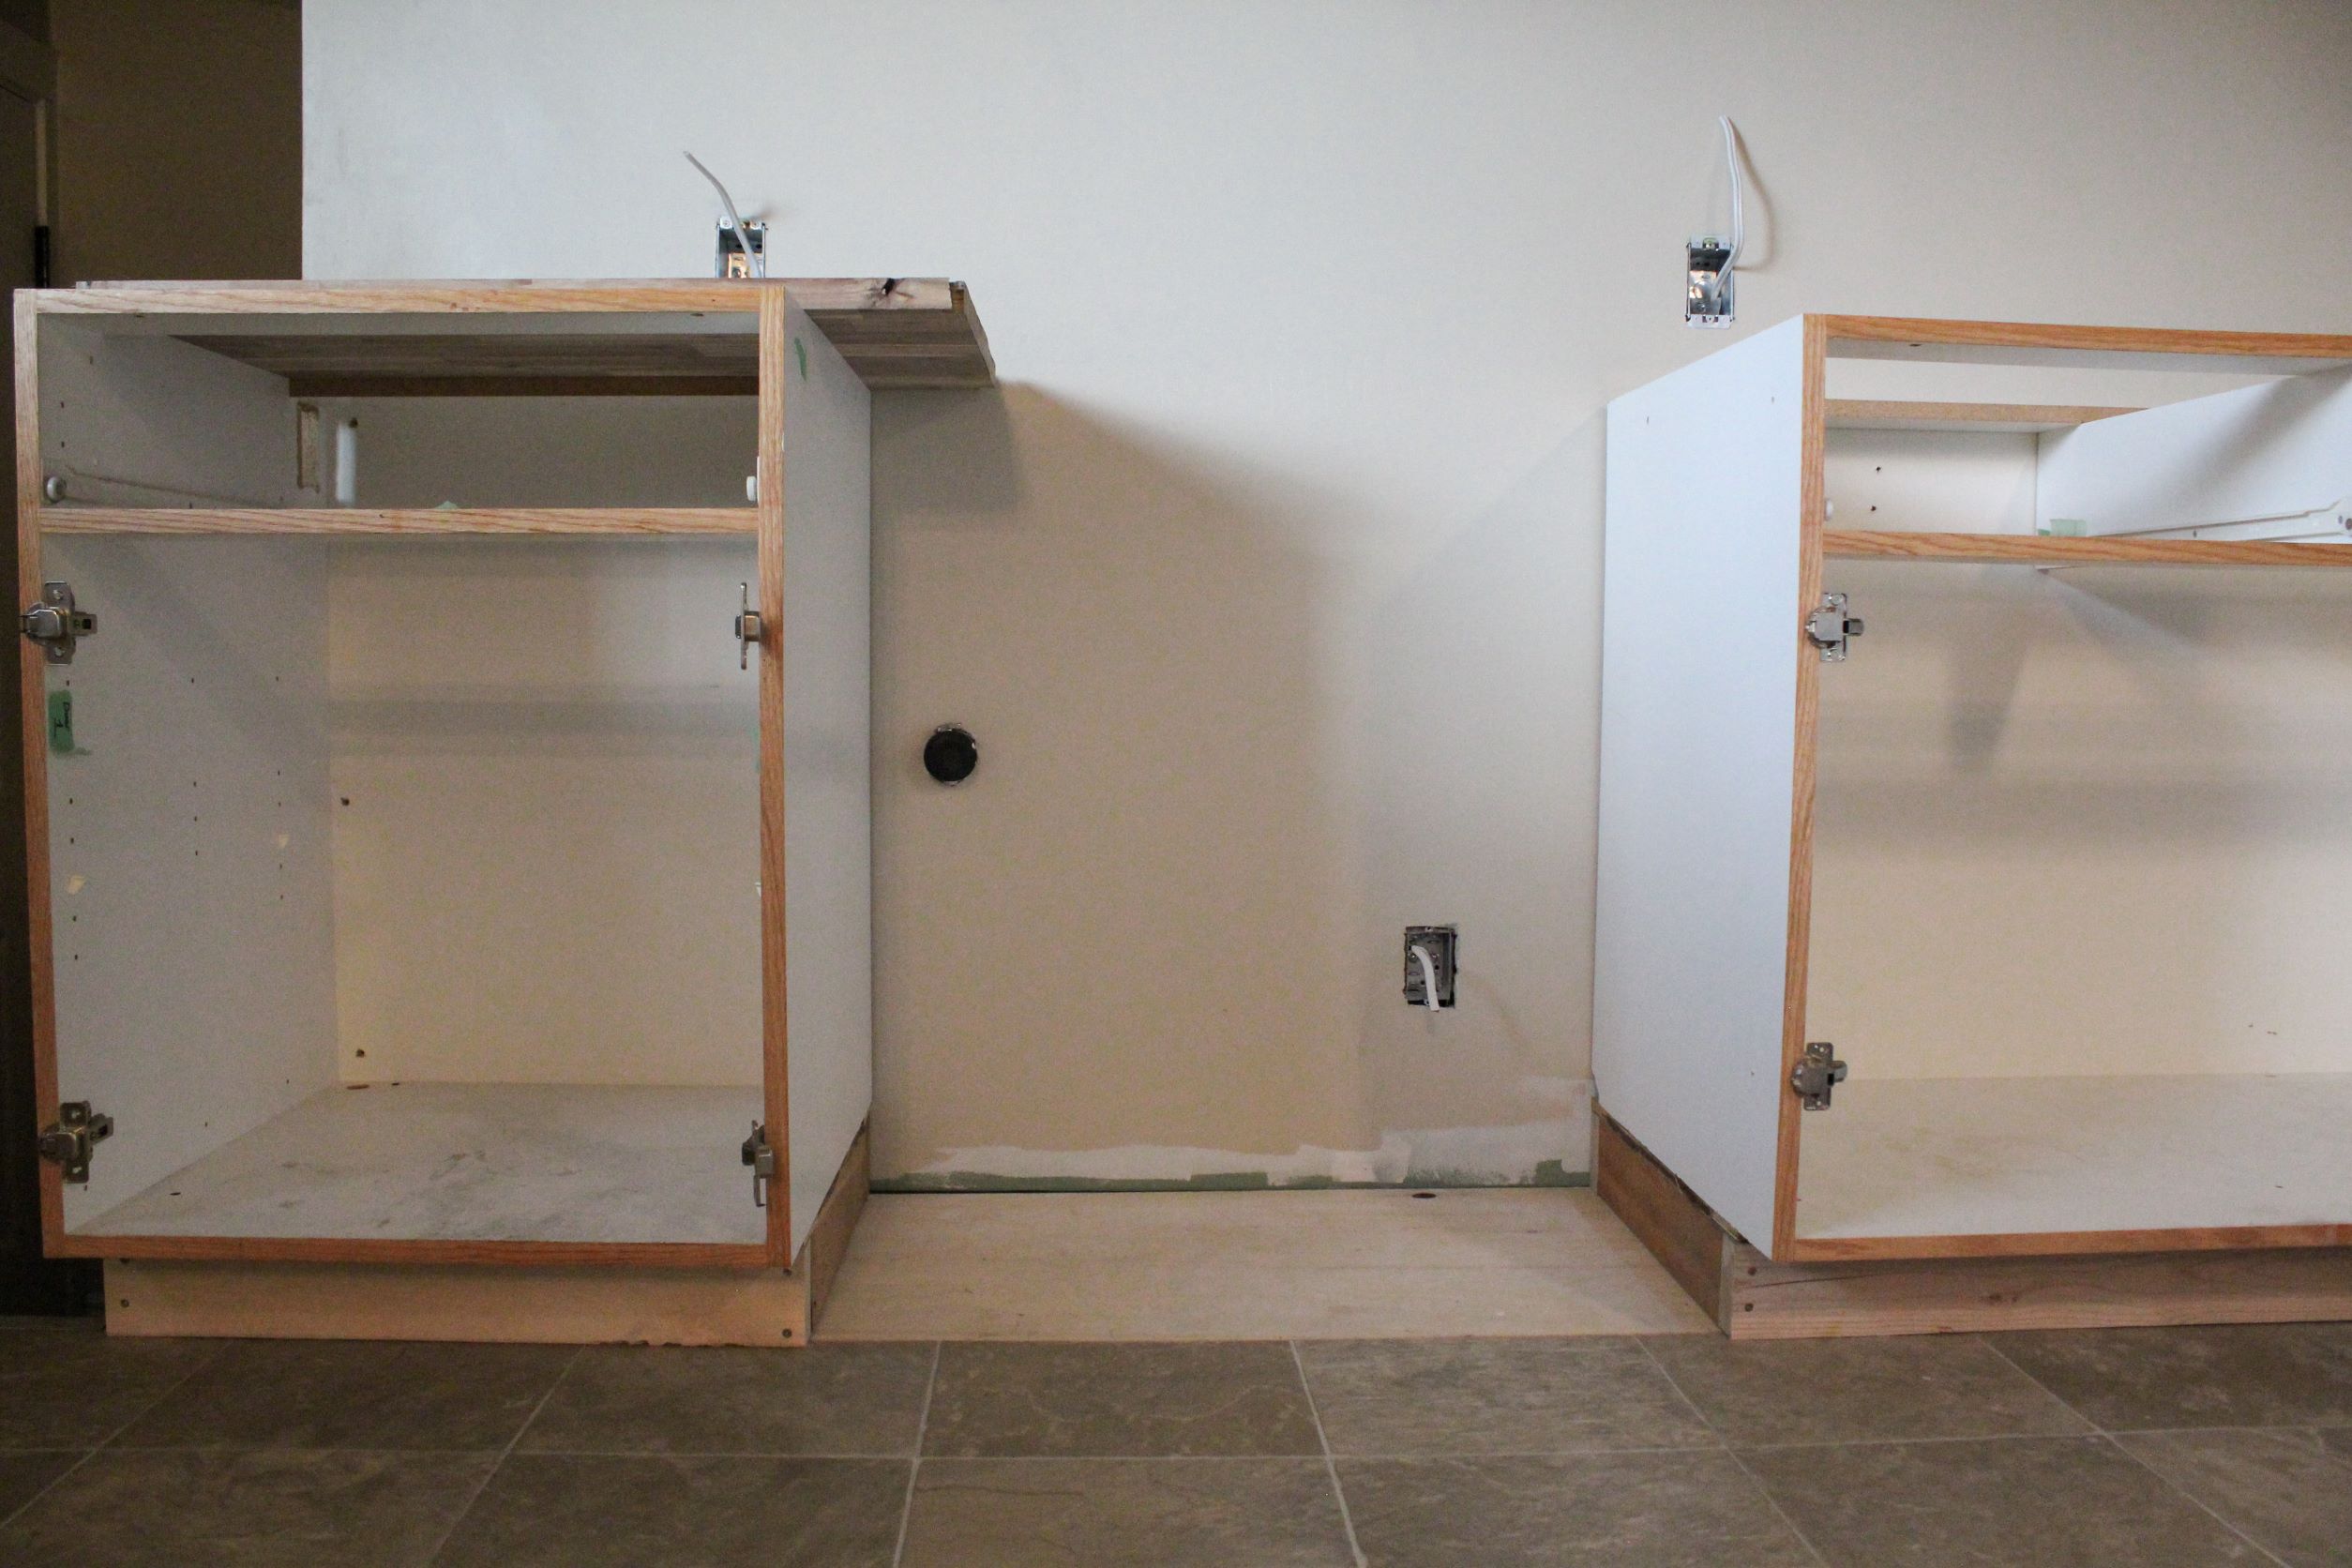
Now with running water and functioning dishwasher, we had a very un-useable space with the old sink cabinet. Which brings us to phase 2! To recap our breakdown of stages/phases click here. See all the “before” images here!
Phase 2 so far
Electrical
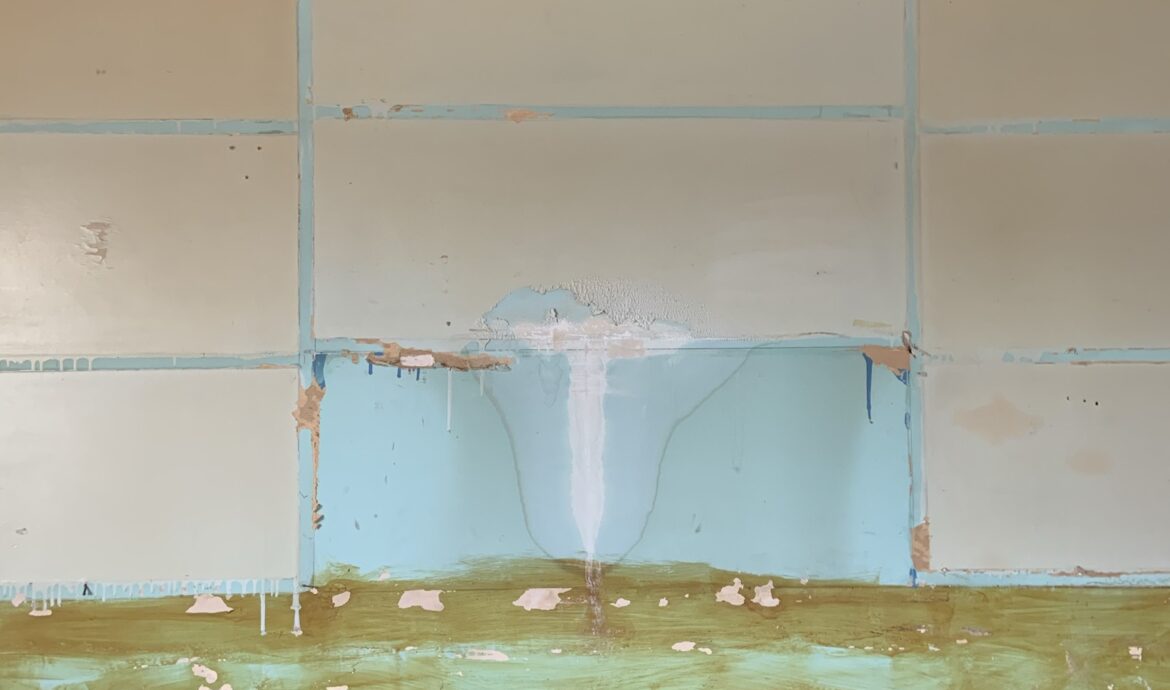
So far this wall has both been easier and more frustrating. Taking out the old cabinetry was a lot smoother than planed (a win!). However, we found a lot of errors with the electrical that delayed things. By a lot. We ended up essentially having to take out all the electrical from the wall and start from scratch. I don’t know enough details to share on here, but I recommend getting an electrician to stop by if you are not confident in your own electrical skills. (Thanks Mr Thomas!). We recruited an electrician friend who helped guide and sort out the issues, and gave a game plan to Joe on how to proceed and list of supplies.
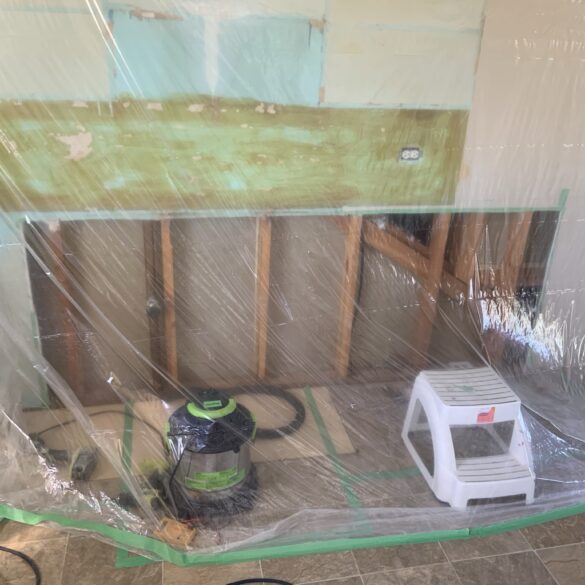
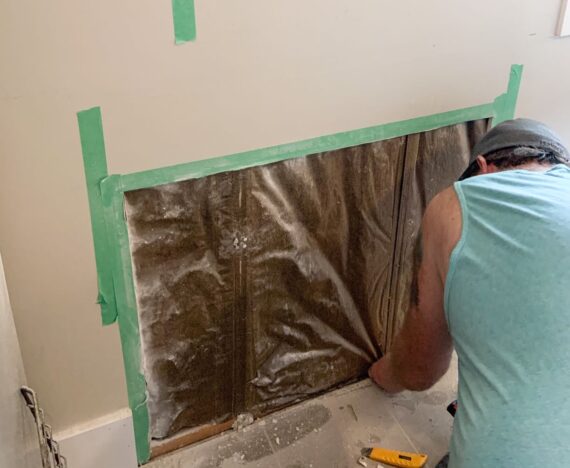
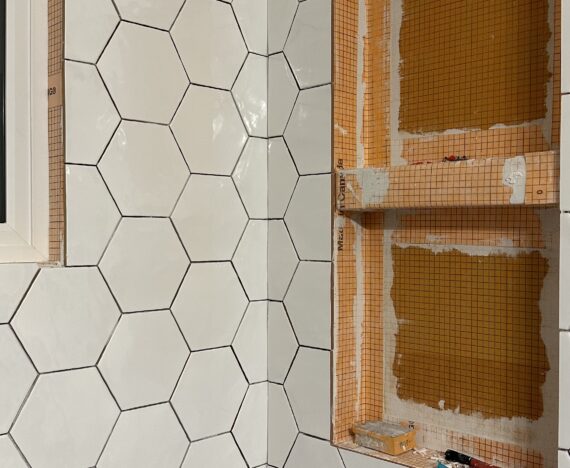
With all the cabinets out, and knowing we had a lot of electrical to do, we cut a giant hole in the wall. I’ve learned at this time, that giant holes are just part of renovations. We were smarter this time and tarped off the wall so that the dust didn’t go everywhere. This hole lived like that for most of the last 2 months if we’re being honest.
Once Joe got the electrical ran, we could close up the hole. We lucked out and found a piece of drywall in the basement that fit the space. This saved us a trim to the hardware store, and some coin! Then I got to drywalling.
Drywalling
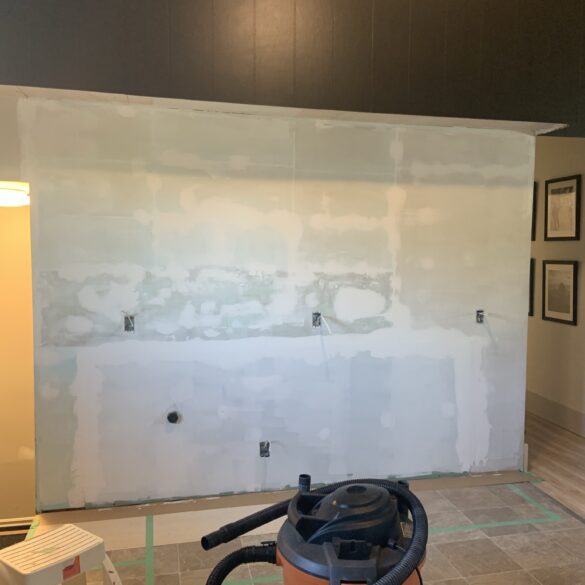
I have not personally drywalled before, and Joe hates mud and taping, so this was a skill for me to learn. Thankfully most of the wall would be covered by cabinets, and the mud/taping in the rest of the house isn’t top notch. Basically there wasn’t too much pressure. I will write another post going into details on what I learned, but let’s just say… watch YouTube videos before and don’t assume you can “figure it out” LOL. I mean I did figure it out.. but could have saved myself a lot of time if I had slowed down a little. One huge tip that I’d give to first time drywallers: if you are unsure if your wall is smooth and everything is filled, pause and put on a thin coat of primer. This will help show you the spots you need to give some more love and where to focus your efforts!
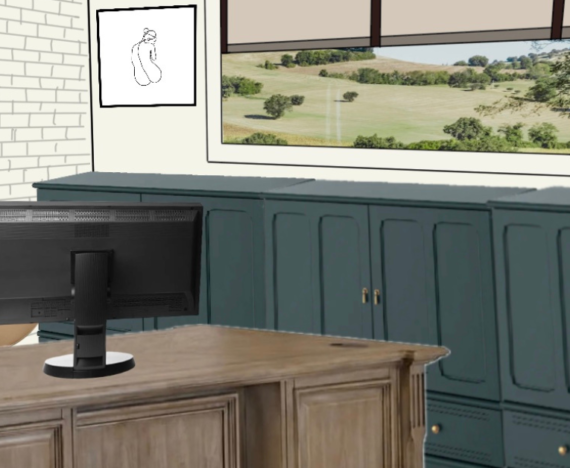
Shelving
This is actually blank because I don’t know what to do. Shelves cost so much money you guys. Prices of lumber are sky high and brackets in Canada are ridiculously expensive for how many I need. We purchased some metal L brackets (I think meant for building a gazebo) from Home Depot for fairly cheap but they need to be cut and painted to look a little less “meant for a gazebo”. Which is just like… a lot of work. And I’m not sure about them. Basically this is a giant question mark right now!
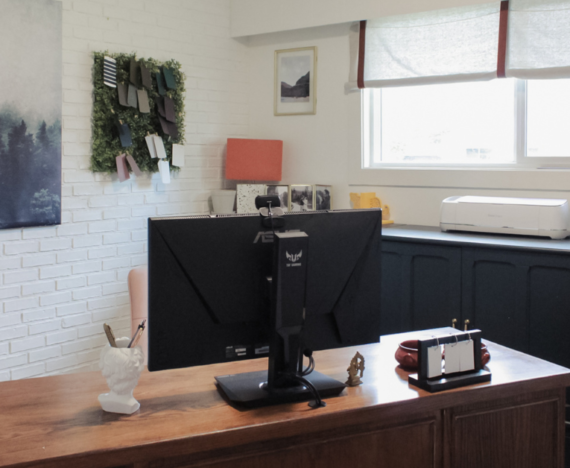
What it looks like today
Last week is where I’d say we’ve seen the most progress. I painted the wall, and we brought up the cabinets to their home. It’s looking so much more real. It’s wild to me how painting that wall made such a difference! This round of bringing up the cabinets was much faster as well, since we had already done a few earlier!
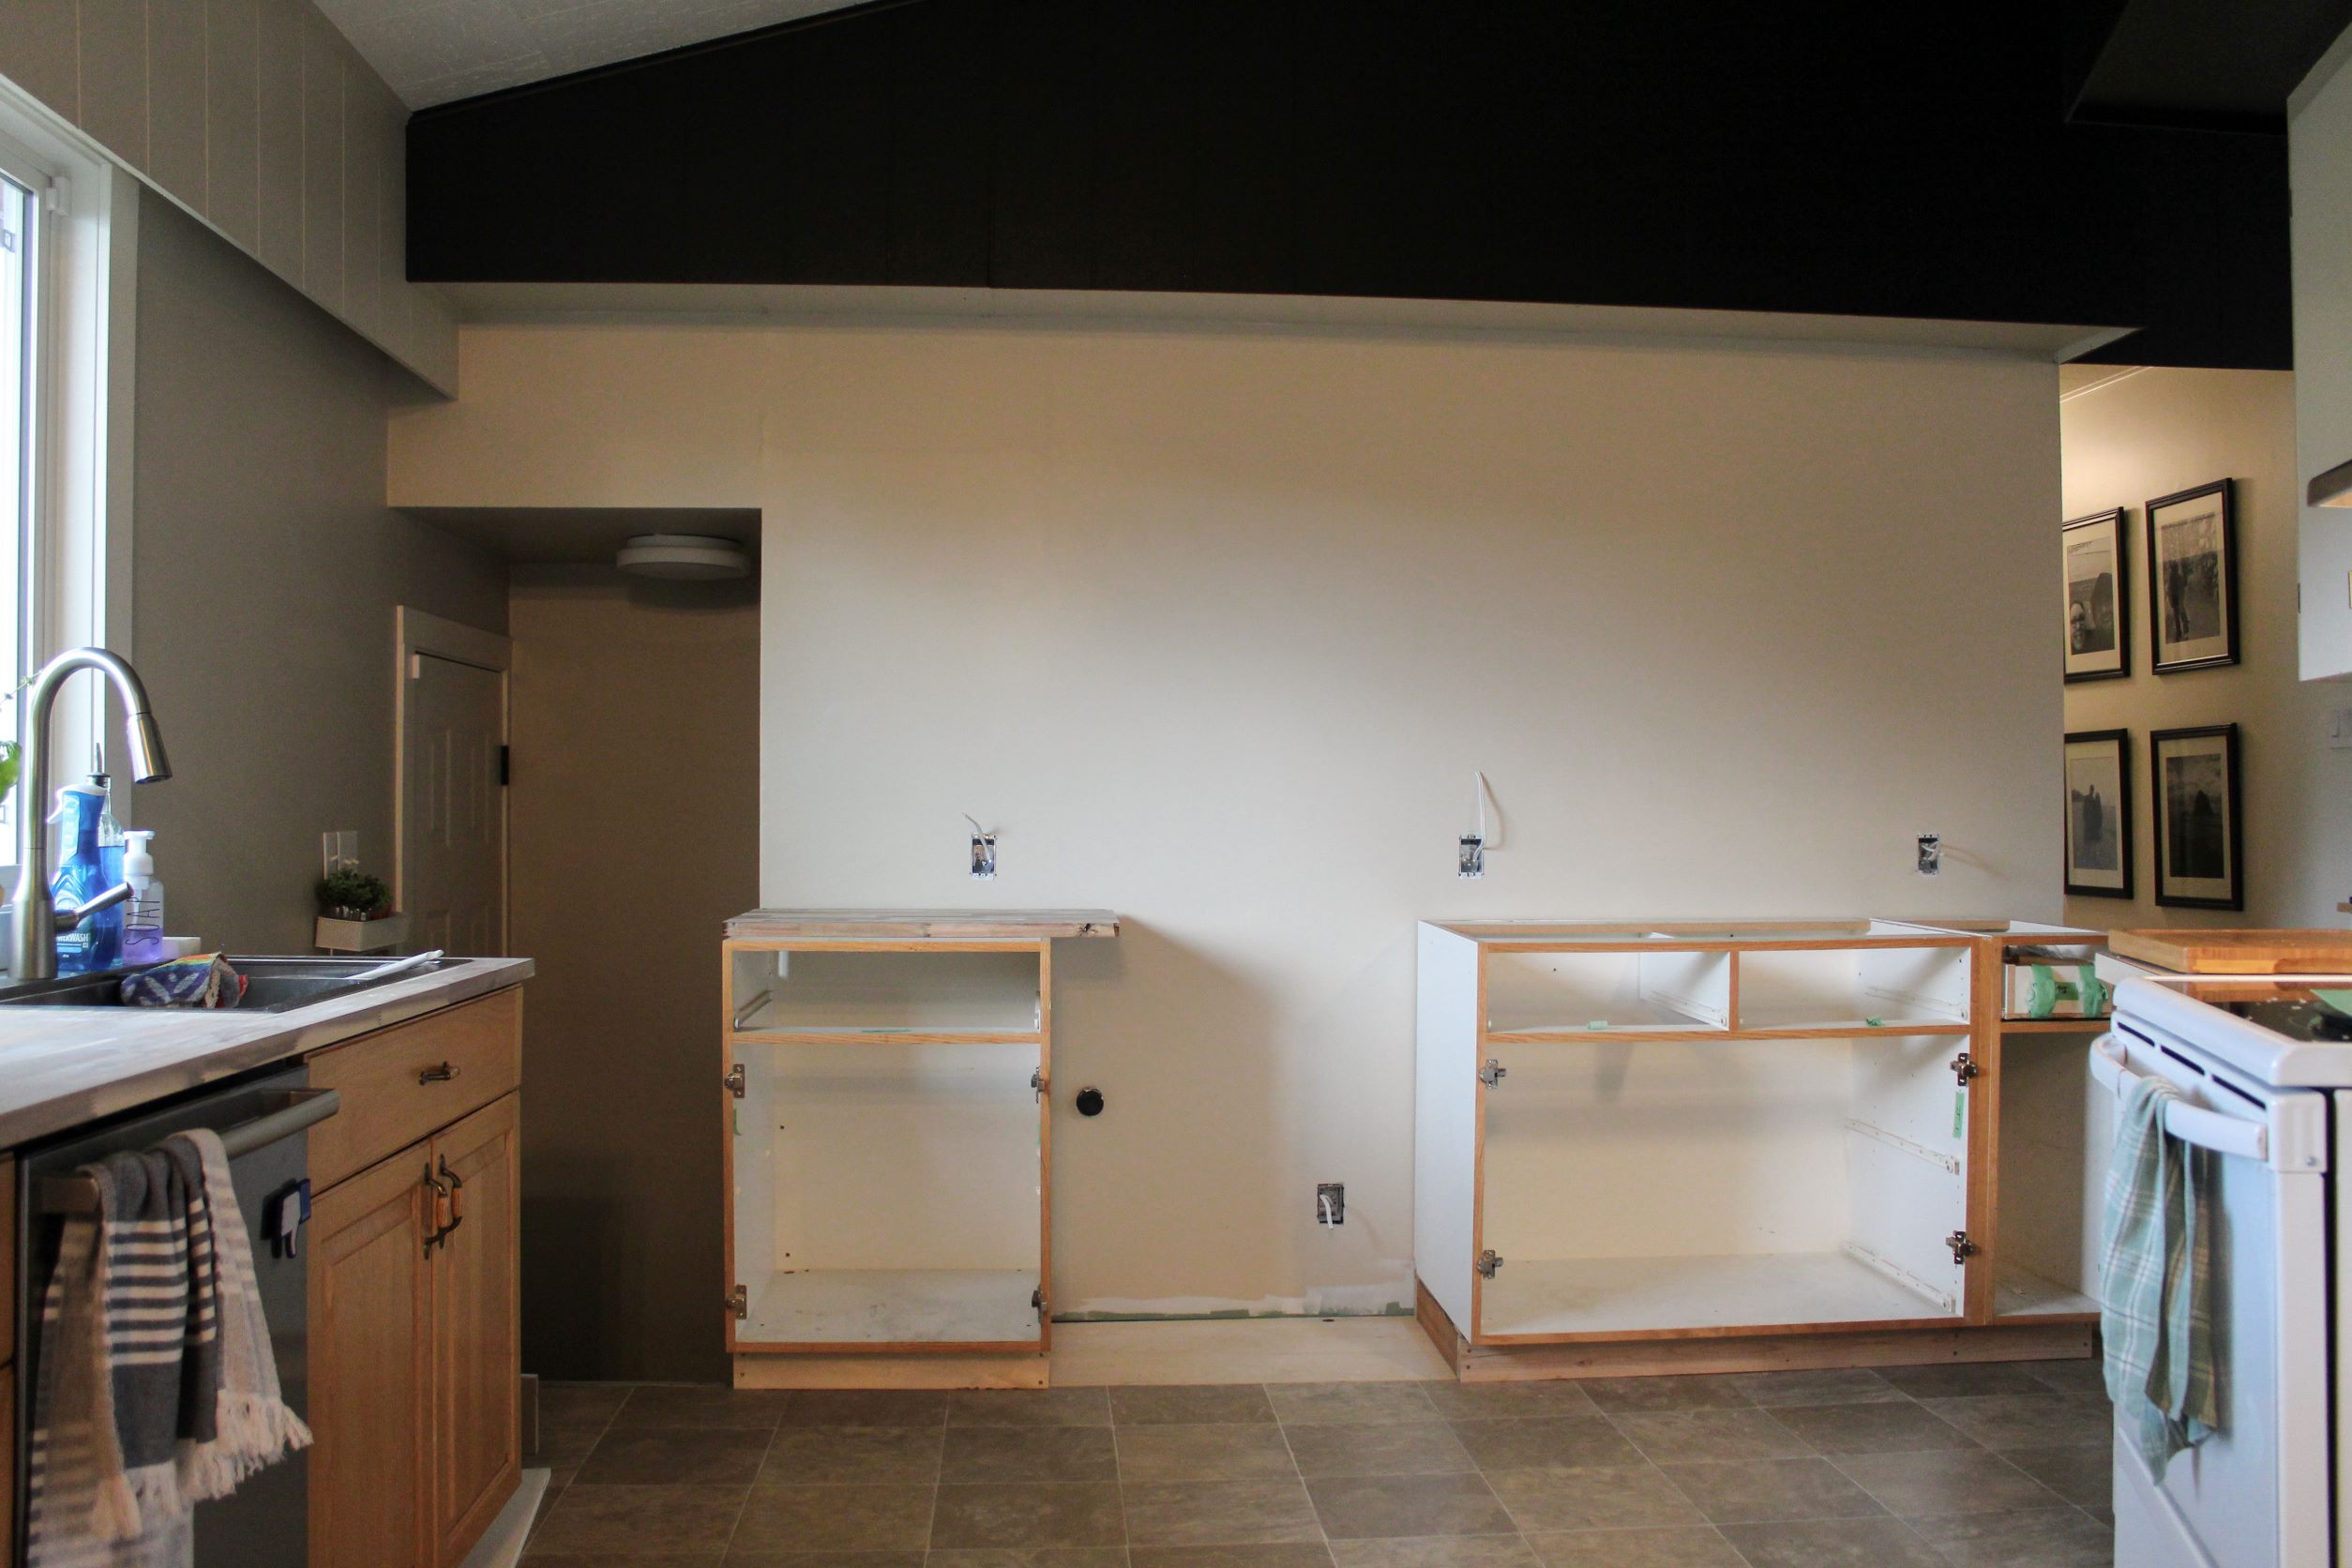
Current steps left for phase 2:
- attach bases to wall
- paint cabinet bases (doors are half painted)
- sort out subpanel situation
- figure out shelving options
- trim work
So there we have it! Hopefully I’ll have another update to give you and for my own sanity, I’m hoping that it includes some electricity!


Comments are closed.