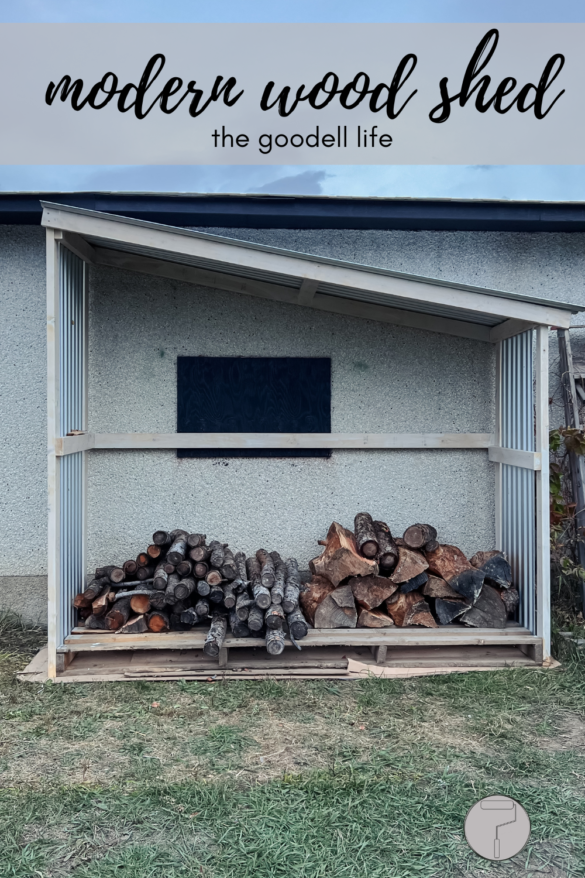
We love our wood burning hearth – it gives a wonderfully cozy ambiance in the fall and winter. There is nothing better after a long chilly day than sitting by the fire and just having the warmth calm you down. The one downside is that instead of flipping a switch, it does require a stash of wood. We were tired of having wood in various areas along the fence and decided that with a couple extra hours, and some materials we had on hand, that it was time to create a proper home for out fire fuel.
This wood shed is easy to replicate for whatever dimensions you are working with, and requires minimal measuring. We based ours around a large pallet we had laying around. In 10 easy steps you too can have your own modern inspired wood shed!
Supplies:
- 2X4s (we used 8 but the amount will be based on your dimensions)
- Pallet
- cardboard size of pallet
- corrugated metal for roof
- self-taping screws
- outdoor wood stain
Cut list:
- A – 2 pieces that will be the tallest point of the roof. We didn’t even cut ours and left them at the 8′ length
- B – 2 pieces that will be the shortest point of the roof. We opted for 6′
- C – 5 pieces that will be the depth of the shed (aka the depth of the pallet). For us that was 3′
- D – 1 piece that is the length of the pallet. For us this was 8′
- E – *cut last after mostly built* 2 pieces that will be the length from the tallest point to the shortest point of the roof

Instructions:
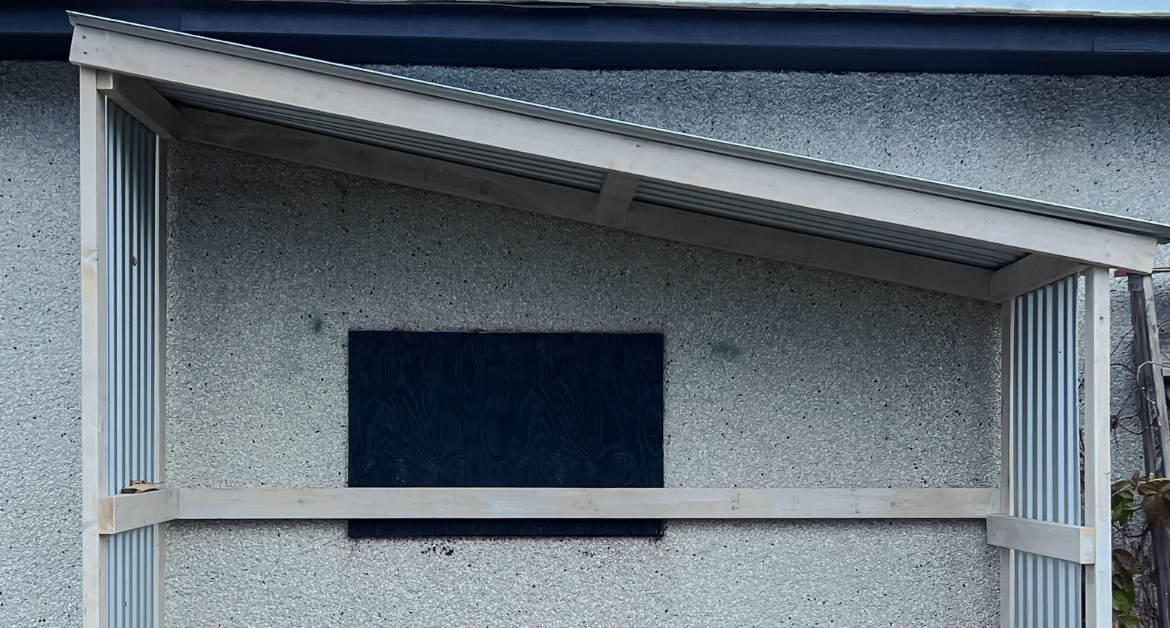
- Determine location you’d like your wood shed. We opted on the side of the garage where it will be sheltered from some wind. Place cardboard and pallet in location. Determine if you want it to slope to the left or to the right.
- Take the A pieces and 2 of the C pieces. Screw the C pieces onto the A pieces at the top and at the middle.
- Take the B pieces and 2 of the C pieces. Screw the C pieces onto the B pieces at the top and at the middle.
- Screw the A pieces, now braces together, to one short side of the pallet. Screw the B pieces, now braced together, to the other short side of the pallet.
- On what will be the back of the shed, attach D to A and B in the middle.
- Measure the length between A and B at their top points, and cut the E pieces. Attach. The E pieces to A and B.
- Attach the remaining C piece between the two E pieces in the middle as a brace for the roof.
- Attach your roof material. We used corrugated metal as we had it on hand, but smooth metal, or plastic, works as well.
- Stain the wood to protect it from elements.
- Fill with wood!


Comments are closed.