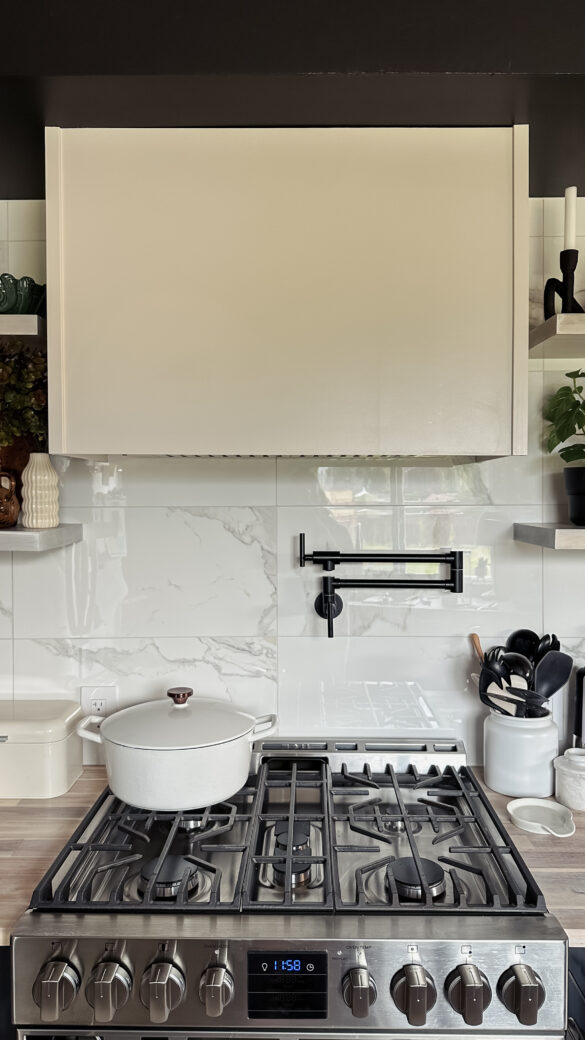
This was one of the more daunting projects of the kitchen renovation: building a custom hood vent that also had a removeable panel to access behind if needed. For me, I wanted to be able to access behind the vent in case of emergencies or desire to change it in the future. Skip to the bottom for specifics on our vent, colour, and dimensions!
Considerations:
Something I didn’t expect to consider with this, was the distance between the stove and the vent itself. With the dropped ceiling/bulk head above the range, we had a minimal distance which limited several options for us. I highly suggest looking at the manufacturer’s dimension needs and the space you have!
Step 1:
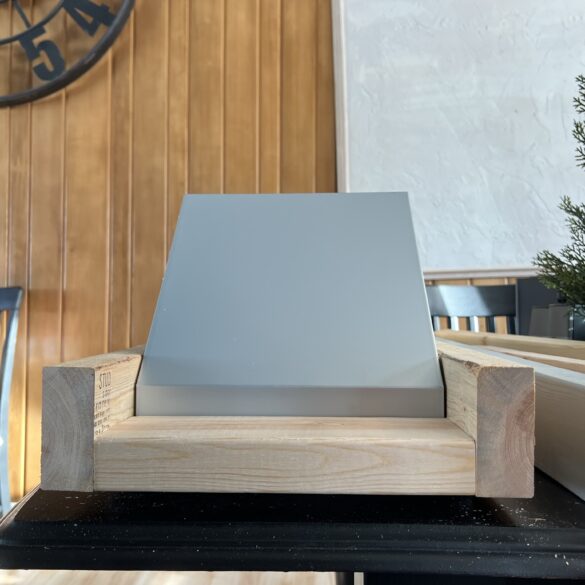
Build the base. We built our base with 2X4s around the the vent itself to ensure it would sit where we wanted it to. This is easiest to do off of the wall to ensure a snug fit. As well, we determined the final finished size at this point.
Step 2:
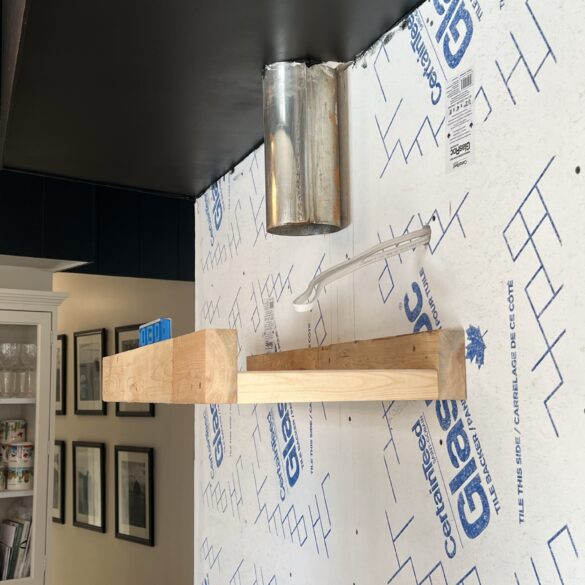
Attach to wall and brace. We used 2X4s for this step as well.
Step 3:
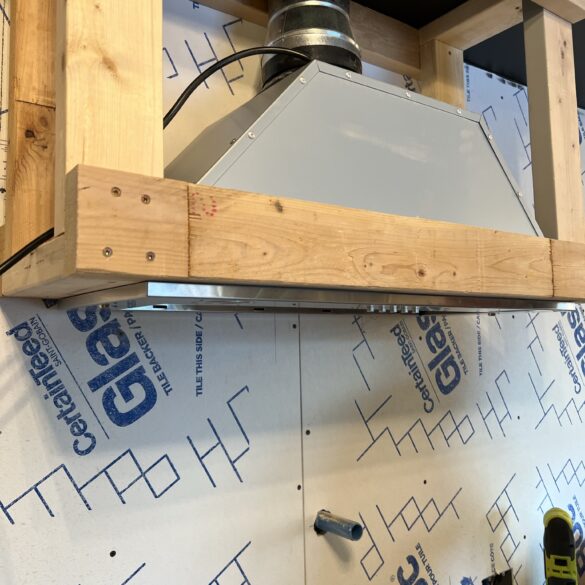
Install vent. If you are not comfortable with electrical work, I suggest hiring this out. We trimmed the original tin at this point to ensure proper spacing above the range.
Step 4:
We added extra insulation given the location in our home and to try to minimize noise.
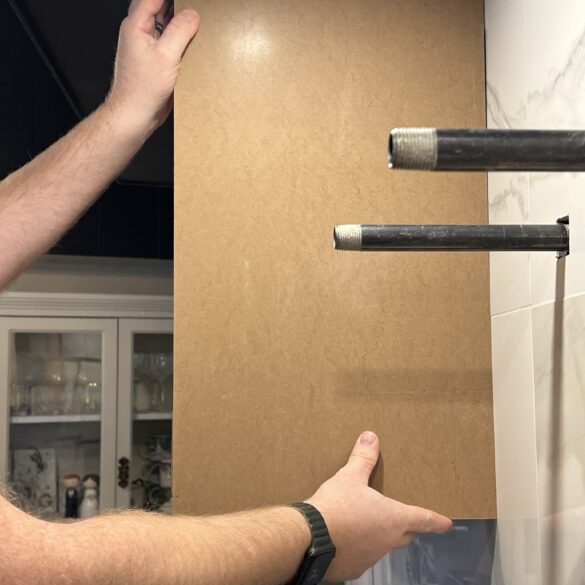
step 5:
Using MDF we traced the dimensions of the bottom of the vent and cut out where necessary. Attached to the bottom of the vent to the wood, and caulked where necessary.

Step 6:
MDF on the sides. For extra dimension we added door stop trim along the edges to the wall
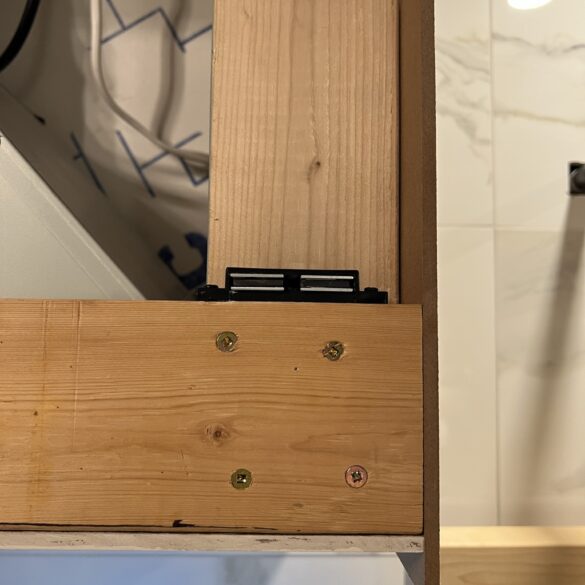
Step 7:
MDF cut for the front. We added corner trim that matched the dimensions of the door stop. only attach this to the front MDF panel. This will also serve as your handles. We also used magnetic closures. As the MDF is thin, we used gorilla glue to attach the metal plates to the MDF and screwed in the magnetic latches to the wood. We also added a piece of trim along the bottom of the MDF that would rest on the frame to hold the majority of the weight.
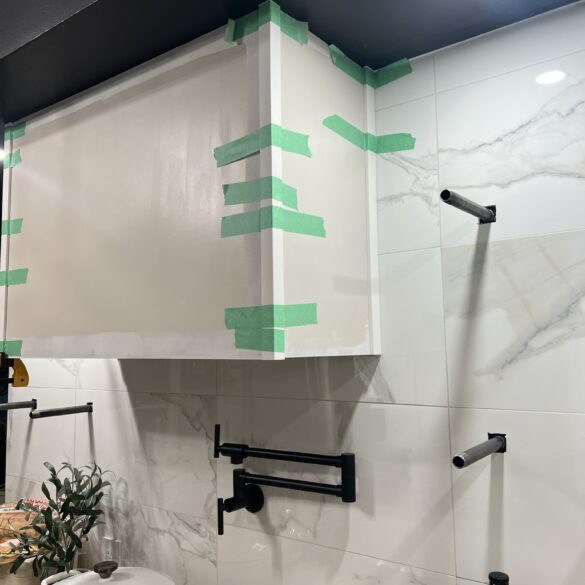
step 8:
caulk, prime, paint and assemble!
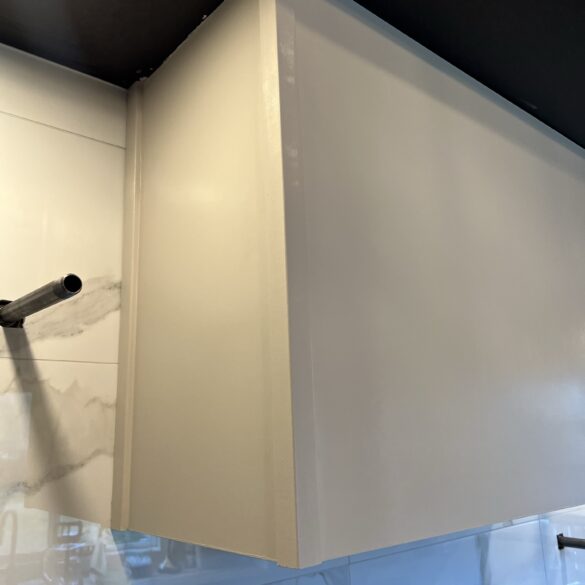
Step 9:
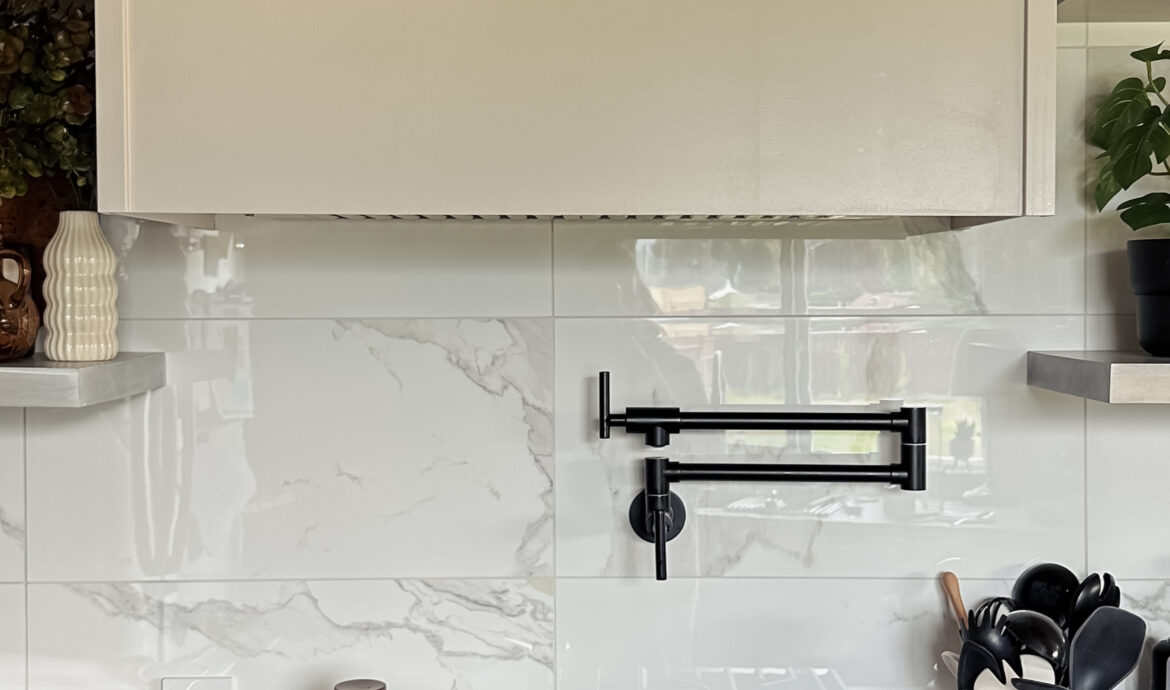
Enjoy this new feature in your kitchen!
Paint colour used: Granite Dust by Behr
Vent used: 30″ Brillia 550 CFM Ducted Insert Range Hood in Stainless Steel By Kobe Range Hoods. Discontinued but here is a similar one.
Our final outside dimensions: 13.5″ deep by 23″ tall and 34.25″ wide
See the other parts of the kitchen renovation here.

Comments are closed.