
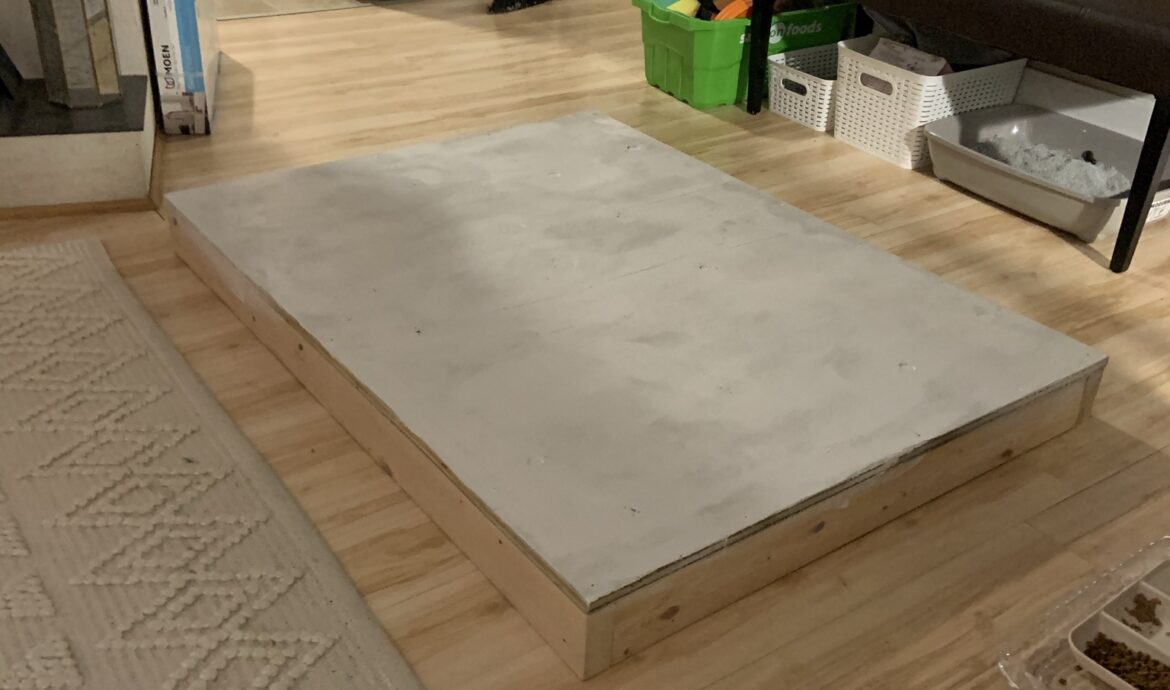
The outside of our homes is the first thing people see when they come up, and while a full residing job or landscape project might not be in the *budget*, I still wanted to personalize my front step to feel a little less “ugh”. Our landing area has quite a large drop from our front door to the concrete pad. Joe build me a temporary step when we first moved in (which was a little sketch), and then a sturdier one this last summer. The plain wood though was looking worn and definitely not welcoming.
I knew I wanted a rug or carpet on the front to make it nicer. But when I looked online for outdoor friendly ones in a size I needed, they were all out of my budget. Then it dawned on me! With some time and patience, I bet I could paint the step to look like a carpet. Off to Home Depot I went!
If you didn’t know, HD has small paint samples for $5 (ish). You can even get it colour matched to other brands as well. But this was a “quick” project, so I chose some random colours from the wall and didn’t think too much. Given I needed 4 colours, I didn’t want to get a pint of paint for each and this was the perfect amount for the project! I highly recommend using the sample sizes to save money!
These are the paints I used:
- White: Behr Creme De La Creme
- Black: Behr Limousine Leather
- Light Grey: Behr Distant Star
- Dark Grey: Behr Dawn Gray
My Favorite Paint Supplies:
Some items may contain affiliate links. You can read about our policy here.
- Wooster Shortcut paint brush – easy to hold and control! I have a handful of these and can’t use a full sized handle paint brush again
- Delicate painter’s tape – with many new coats in this project, using delicate tape will help not wreck previous layers!
This project is definitely an EASY DIY – it just takes time. Not a lot of “skill” needed! If you have a paint brush and tape, you can do this.
STEPS
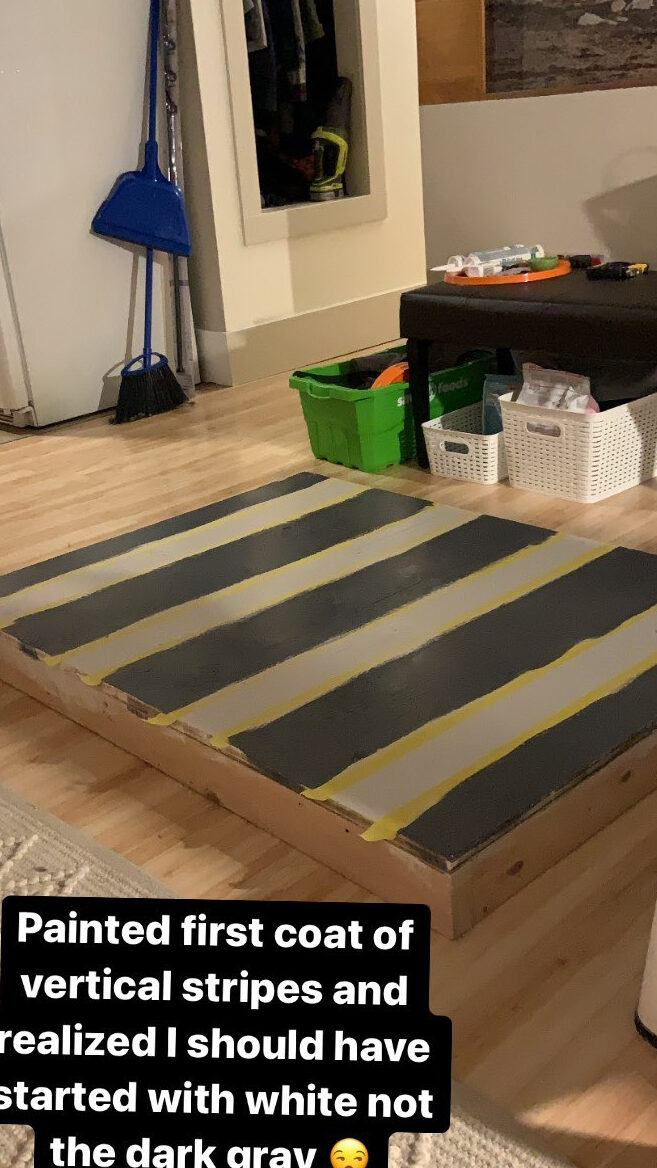
Step 1 – Paint the entire base one solid colour. I suggest painting the lightest colour first and working your way to the darkest!
Step 2 – Choose if you’re starting with your horizontal or vertical lines first and the size of each “line”. You will want them to be fairly even for both directions. My step is 4 feet wide and 3 feet tall, so I opted to do 6-inch lines, with the ends being 3 inches each. The reason I split one measurement for the ends: if I had done 6-inch straight across, I would end in a different colour than the first line, and I wanted it to be even. This is probably the trickiest part of this project is just sorting out your measurements! I did pencil marks on the edges around the entire box so that it would be easier to line up my tape.
Step 3 – Lay your first sets of tape. You will be alternating colours (gray/white/gray/white etc), so make sure when you are laying down the tape that you are covering the white sections that will stay white, and leaving the areas you will want to paint. Your tape will be “inside” the white line parts. Press your tape down really well! I like to use a credit card to really get that tape to be sealed down to the edges. You can also do a thin layer of the base colour (white in this case) so that if there’s any that seeps through, it is not noticeable as it is the same colour! Once you’re ready, paint the first gray. Let dry for 10-15 minutes and remove the tape for crisper lines.
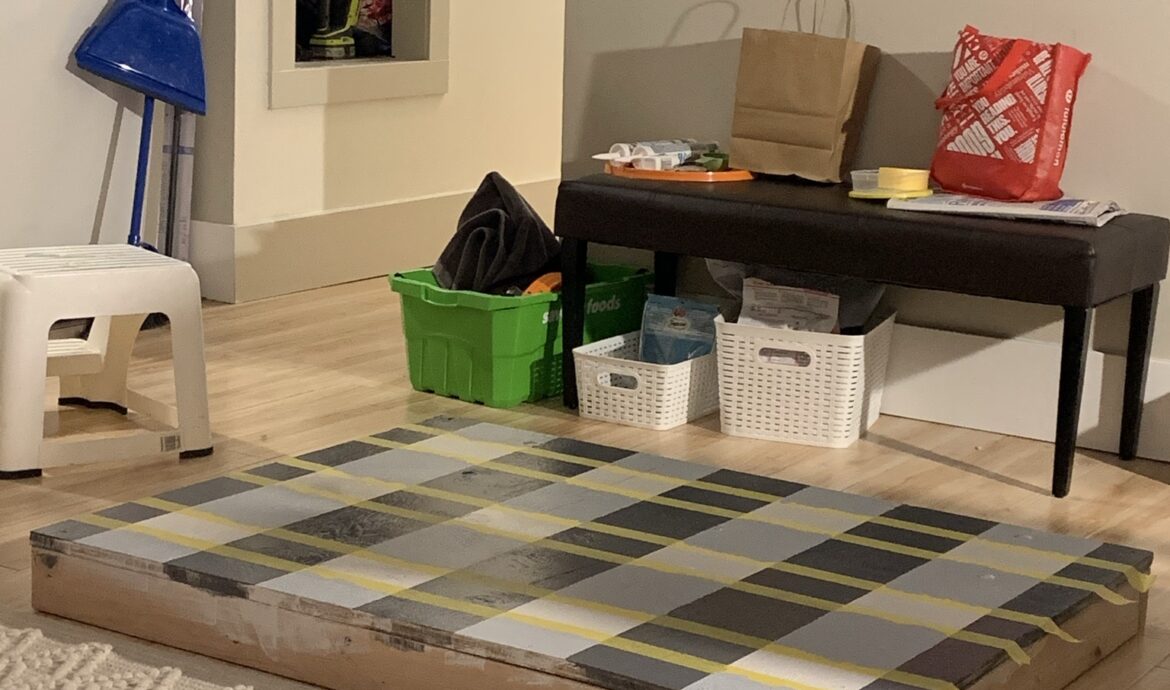
Step 4 – One that is completely dry (check your paint for recoat times), repeat going the opposite direction. This paint colour will be your darker grey. Don’t remove the tape this time though!
Step 5 – At this point, I was impatient and didn’t use more tape (I also ran out)… I would suggest using tape if you don’t have a steady hand. You will already have half the tape that you need, but finish making boxes around the spots where the two greys intersect. Paint these spots black (your darkest colour). Remove the tape after it has dried 10-15 minutes. (I painted the edges of the step at this point as well since I had the black paint out.)
Step 6 – Clear coat that sucker! This is optional, and I honestly didn’t use it because I didn’t have any on hand. So far though, the step has been outside for 4 months through winter and it seems to be fine though haha. I did put a welcome mat over top though, which has partially protected it. If you are more responsible than I am, I would definitely recommend throwing on some poly for protection!
Step 7 – admire your faux carpet and how much $$$$ you saved by painting it yourself! It is ready to be styled for seasons to come.

Follow me on Instgram to see how I style my DIY Buffalo Check Plaid Rug in upcoming seasons and holidays!

Comments are closed.