
I’m just going to put June and July together because MAN what a crazy 6 weeks. I would say that June and July (so far) have had the most VISIBLE progress. So so so so much has been behind the walls or demo, that it’s amazing to see what it is starting to shape up to look like!! Things are looking WAY different from the last update… so let’s get into it!
Catchup on other kitchen progress here:
Hutch:
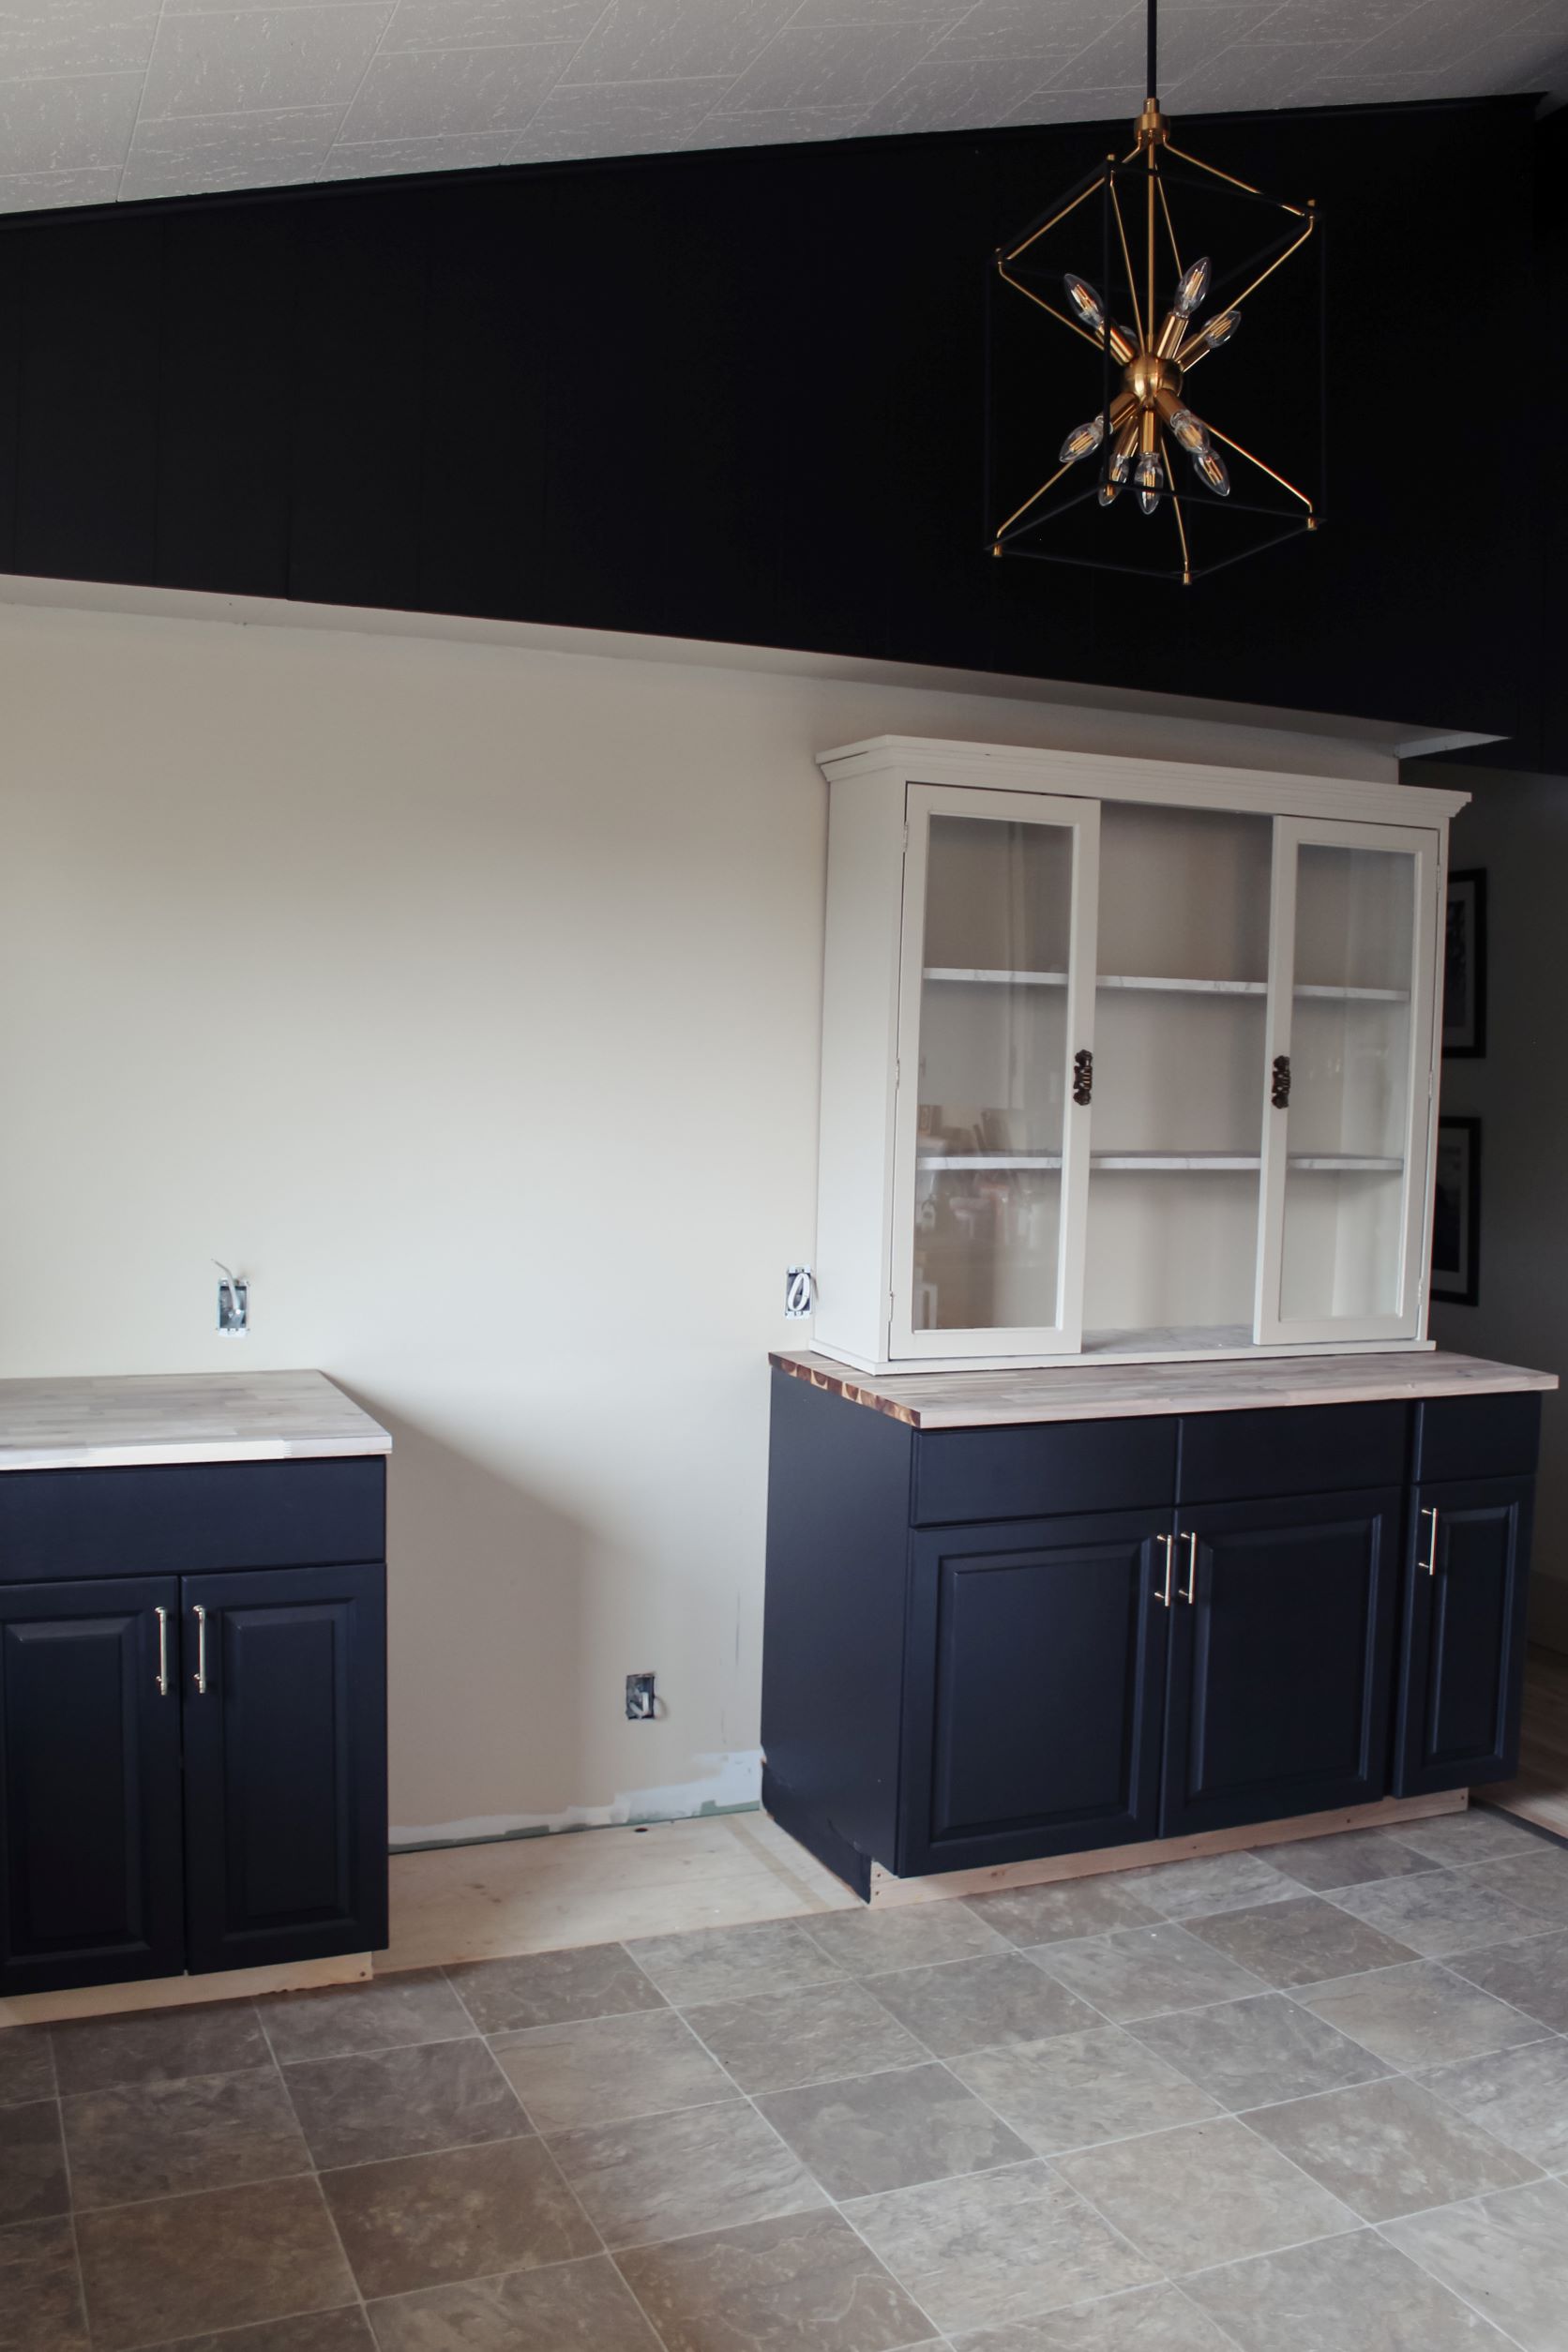
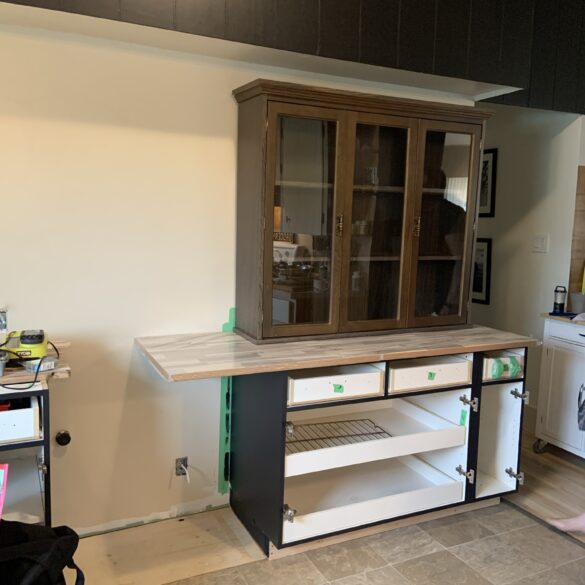
If you’ve been following along on Instagram, you’ll know that I got a hutch/cabinet combo for $40 off FBMK. It is a heavy beast of furniture… but the hutch is the PERFECT size for the fridge wall. In my original plans for the kitchen, I wanted that wall to be full of lower cabinets and hutch style uppers sitting on them. When we had to pivot for making space for the fridge, I was disappointed to have lost out on the closed storage – or so I thought!
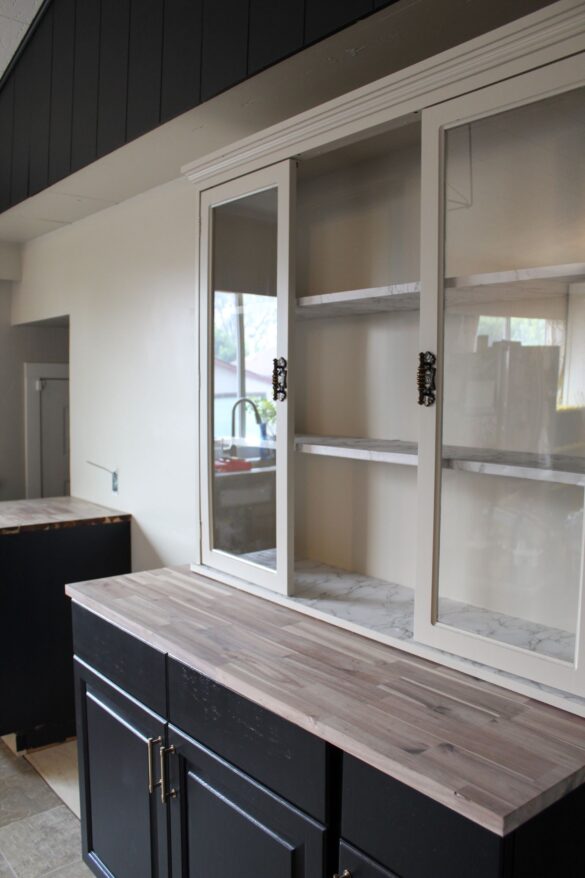
I kept my eyes open for weeks until I found this piece. Funnily enough, it was during that time it seemed like everyone on Instagram had the same idea and it has become quite a popular idea! I totally get why: it recycles, is cheaper than buying a custom cabinet, and creates a curated look. I de-glossed, primed, and then painted the cabinet and hutch the same colour as the kitchen wall. This way when it’s on the countertop it will feel seamless and light for the space. Eventually I will be building the cabinet up to the ceiling area so it looks more built-in.
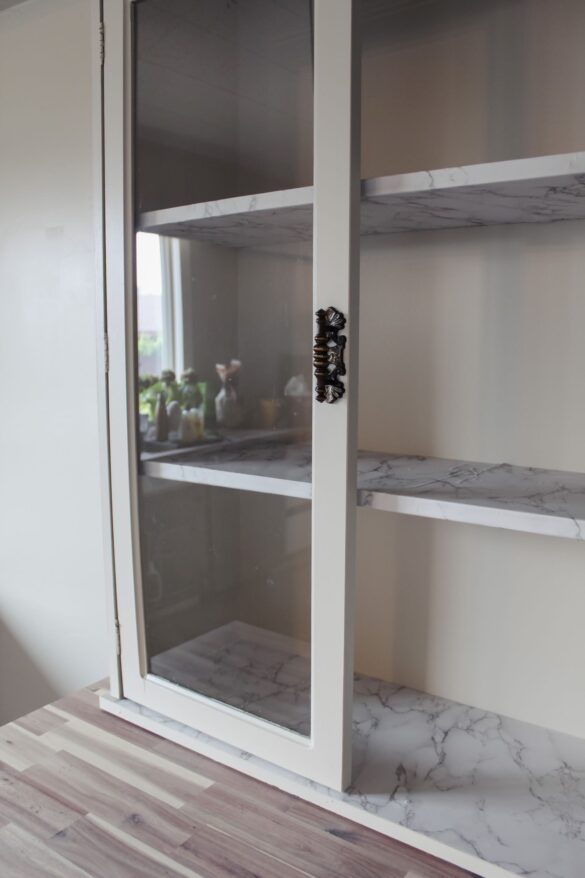
A downside of using the wall paint is that it does scratch easily. I opted to wrap the shelves in the hutch with marble contact paper. In a perfect world I would have real marble, but for now this will be great. I used this from Amazon. It is a matte finish and will clean easily. I measured the shelves so that I could wrap one piece around the whole shelf without having a seam along any edges, to help prevent lifting. This did make it challenging to apply. I used my drywall scraper to help press out air bubbles as I placed it. There are still a couple of wrinkles, but the pattern helps hide them.
Doors:
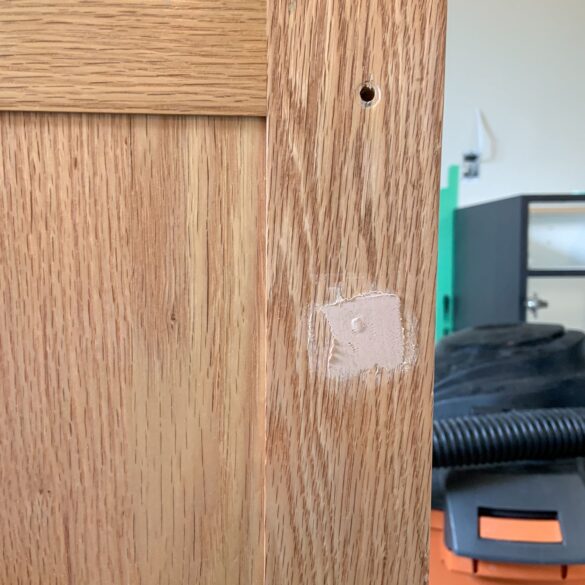
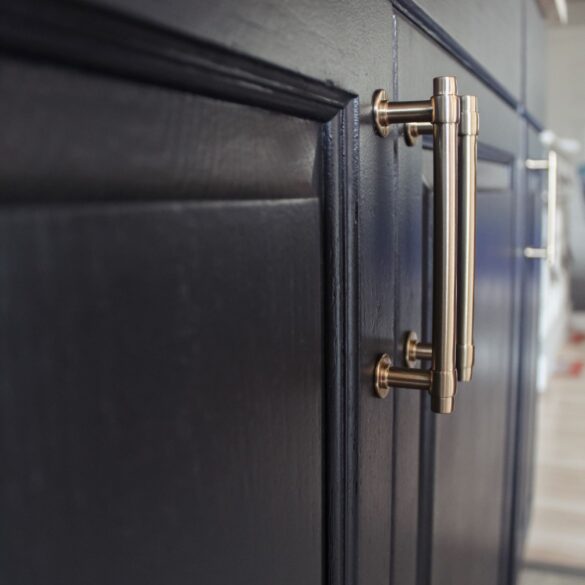
We have doors on! And some doors off! The wall with the sink has its doors off and they are primed waiting on paint. The doors on the [soon-to-be] fridge wall are painted and on. They need a couple touch ups now that I can see it in day light, but are looking gooooood. We also made a template (future post to come) on drilling holes for the new hardware. The cabinets had hardware meant for 3 inch spacing but I like to make things *complicated* and ordered 4 inch handles. Which means: filling the holes, sanding, and re-drilling. Hot tip: for the doors (not drawers), only fill the bottom of the 2 holes. Having one hole pre-drilled, it’s much easier to line up your template!
The hardware we are using is Champagne Bronze Francisco Pulls and gifted by our friends at D. Lawless! I am in love with these. I have ordered cheaper hardware from amazon before and even though these are so affordable, their quality is amazing and customer service is top notch. D. Lawless is a supplier for different brands so these are Liberty brand hardware but not the $12/pull Canadian like in stores here!
Countertops:
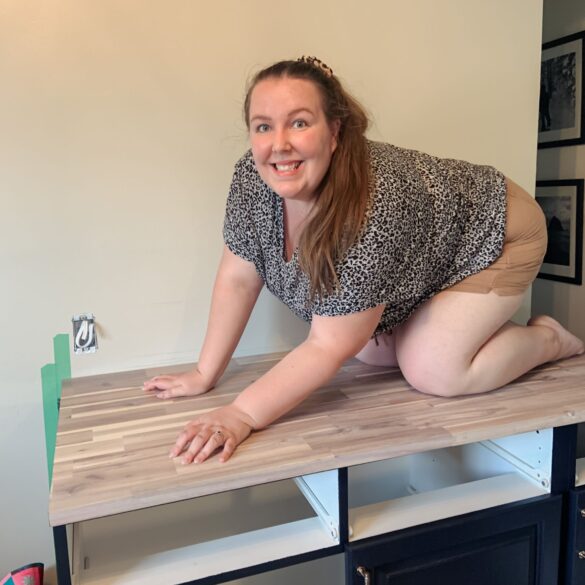
We cut the countertops, oiled, and attached them. Scoring these ones were a bit more difficult due to my beginner drywall job behind them. When we replaced the drywall for the electrical, we used waterproof drywall we had found in the basement (yay for saving $$!). However.. it was also thicker than the existing drywall so there is a small lip I had to try to blend. You can’t tell at first glance, but this did cause some gaps for the countertop which took longer than we anticipated to scribe. After scribing, we sanded them at an angle to try to accommodate the drywall difference and that seemed to have helped. I think I might still have to caulk them though down the road.
A reminder that the countertops we are using: Interbuild Acasia White Hard Wax from Home Depot. We are oiling them with Howard Butcher Block Conditioner as it contains more wax. Future we may do just oil.
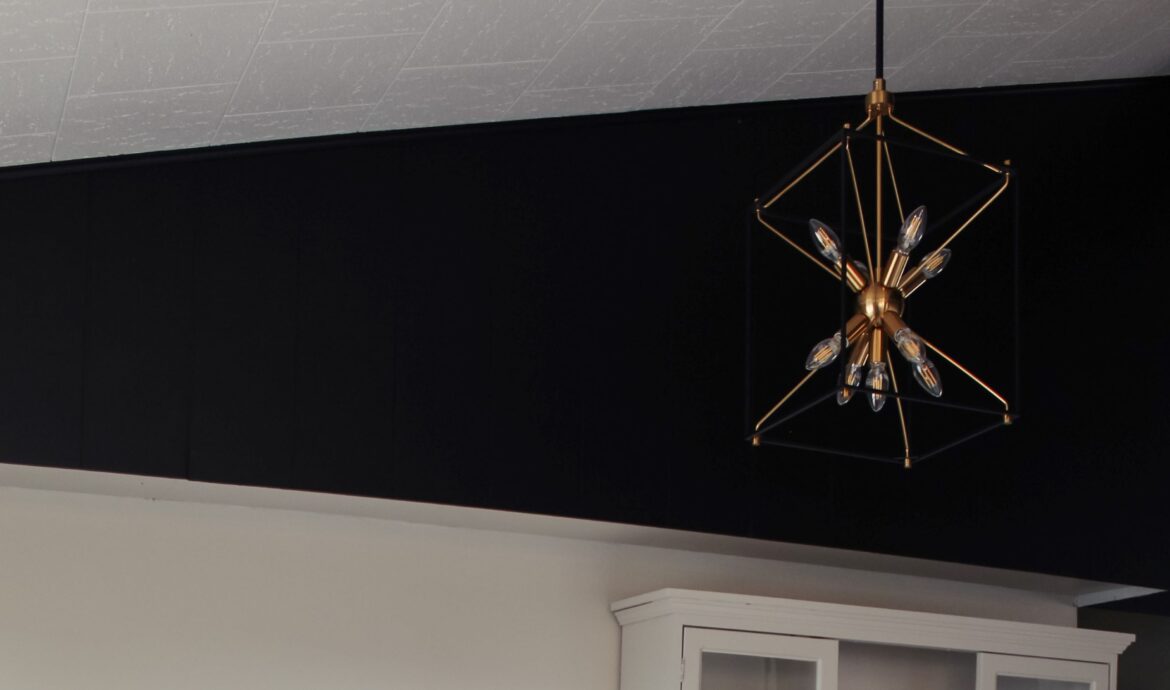
Lighting:
The lights in the kitchen have been… a journey LOL. The original lighting that came with the house were the old large halogen bulbs that use a million dollars of electricity each month. We quickly swapped it out for a new flat LED style. The problem was though, that the old light had the mounting hardware at the top and the new light had it in the middle. Because of the vault of our ceiling, we weren’t able to just place the new light where the existing box is or it would hit the vault… and so we used a random boob light in the basement instead. This is also when we found out the ceiling was painted after the old light was installed, because under it was still yellow – yuck! We lived in that state – yellow box and boob light – for the last 18 months or so.
Finally we decided enough was enough! Joe ordered the Artika Clyde (it is the same as the dining light), we got a sample of paint from HD, and in under 2 hours the space transformed. The whites aren’t perfect matches because nothing will match years of smoking inside or cooking without a working exhaust vent, but it doesn’t draw your eye to a yellow square anymore. The new light matches the cabinets and hardware perfectly, and feels like it should have always belonged.
Electrical:
One of the largest set backs has been the electrical. We ordered our subpanel about 6-7 weeks ago but it keeps being delayed. We pre-paid as well (it was on sale) and since then prices have increased. For us to cancel our order and purchase somewhere new will cost about $100 more at this point.. so we are on hold for now. Still I want to get the plug ins set up so that they are ready to use once we get that subpanel working!
Still to do for phase 1 and 2 to be complete:
So much!!
- Finish painting doors
- drill holes on drawers/attach hardware
- set up plug in boxes
- sub panel (backordered for the 3rd time)
- attach doors to sink side
- brace hutch to wall/build it up
- attach shelves on sink wall


Comments
Trackbacks & Pingbacks
[…] Summer update […]
[…] Summer update […]